|
|
#1 |
  Join Date: Jun 2005
Location: pittsburgh
Posts: 4,624
|
Recently I had an issue with my power key not staying on all the time (thread can be found here ) and seeing as there was no good how to on how to fix this I decided to make one. I didn't bother taking pictures of most of these steps because they are pretty straight forward. All steps are given from sitting in the drivers seat.
Step one: disconnect the battery...if you need pictures here you're probably better off not tackling the rest of this yourself step two: start to remove gear shift trim piece to gain access to the bolts at the bottom of the radio surround. This is quite easy. Lift up the arm rest and remove the two bolts covered by fabric at the front of arm rest storage area. 8mm and 7mm bolts I believe they are. then remove the bolt in the cupholder/ashtray area to the right of the gear shift in the front cup holder. I believe this in an 8mm bolt. Carefully lift this piece up and disconnect the interior hatch release, it's just two connects that slide off, and the cigar lighter which is also two clips then rotate this piece out of the way...no pictures here because....well I forgot step three: remove the radio/ac trim piece and the center vent. the radio/ac peice is held on by three bolts with two at the bottom and one at the top right. The ac vent is held on by two torx screws. Step four, remove the vent and place aside. step five: remove the radio/ac/power key surround and disconnect the power key. this is attached by a black piece with three holes in it which serves as a guide and power supply to the key. Take this to a work bench or other location to work on it....I used the kitchen table...don't tell my wife. The car should look like this now 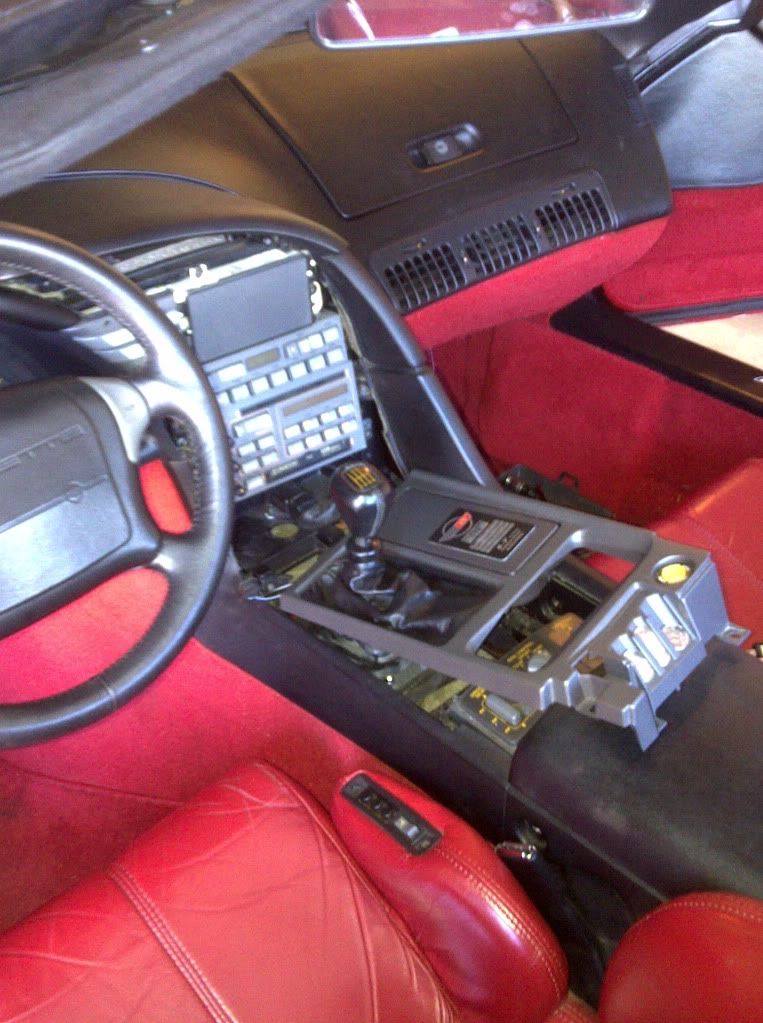 step six: removal of the key cylinder. You should now be looking at this:  This is the only part that gave me trouble because I was afraid of breaking the surrounding plastic and being out of pocket to try and find a new one. There is a black metal ring that holds the key cylinder in place under tension pictured below and can be seen above in the second picture if you look closely. I used a set of channel locks to remove the ring and the cylinder came out of the trim piece. Ring: 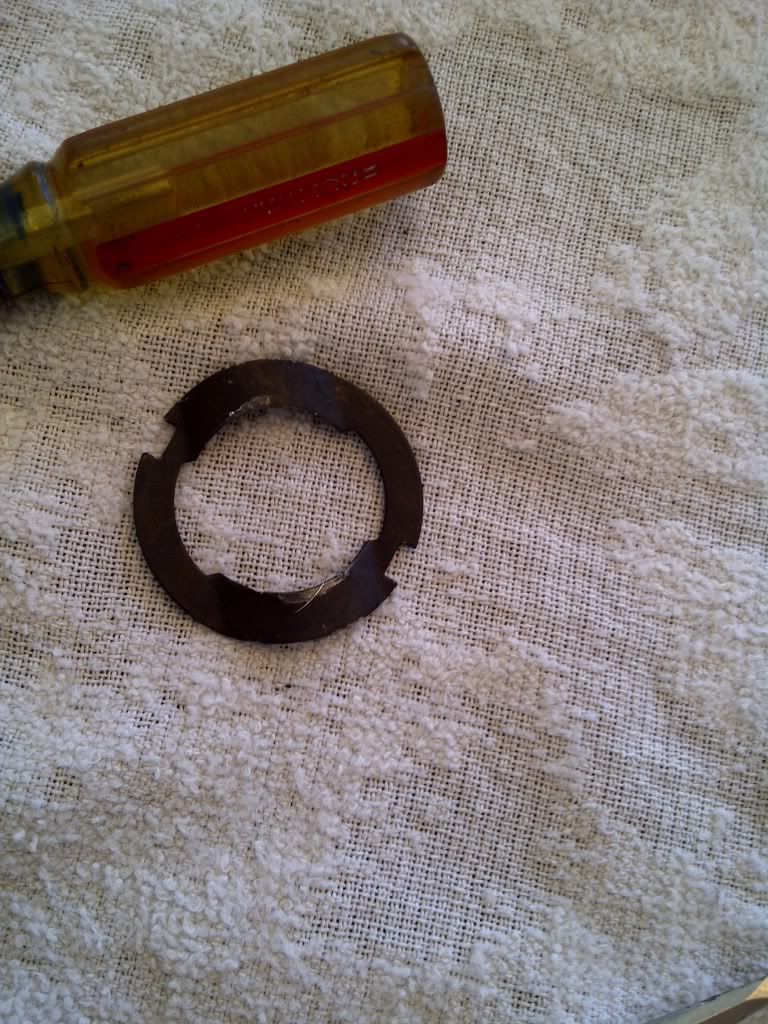 Step seven disassembly: You will now have the cylinder and the switch in your hand. I forgot to take a picture of this assembled. Sorry, about that. Here's where you may want to take a sharpie and make a mark on the metal and the white part of the assembly as a reference point. It will save you a few minutes later in the process, I used a sharpie but use whats handy. Now you will want to get a small flat head screwdriver or other such tool and work these two little clips out. These clips can be seen in the first picture posted in this thread. 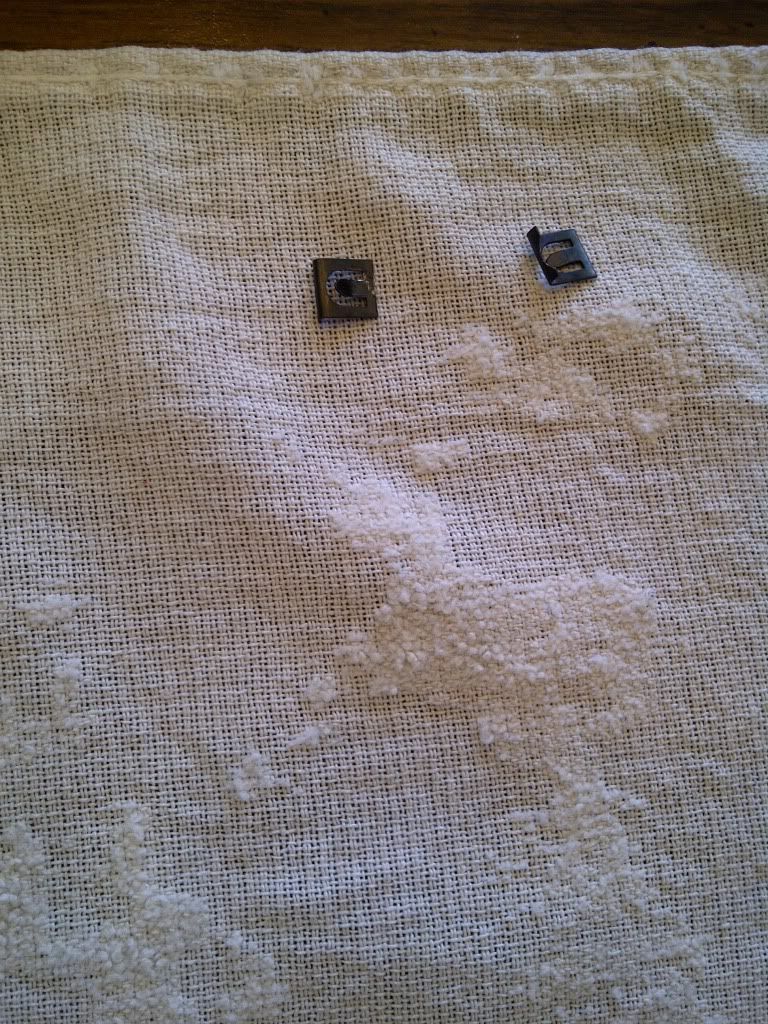 once you do the top part will slide out...either easily on its own or after you work at it with the screw driver to get it out. Either way you're going to end up with this. 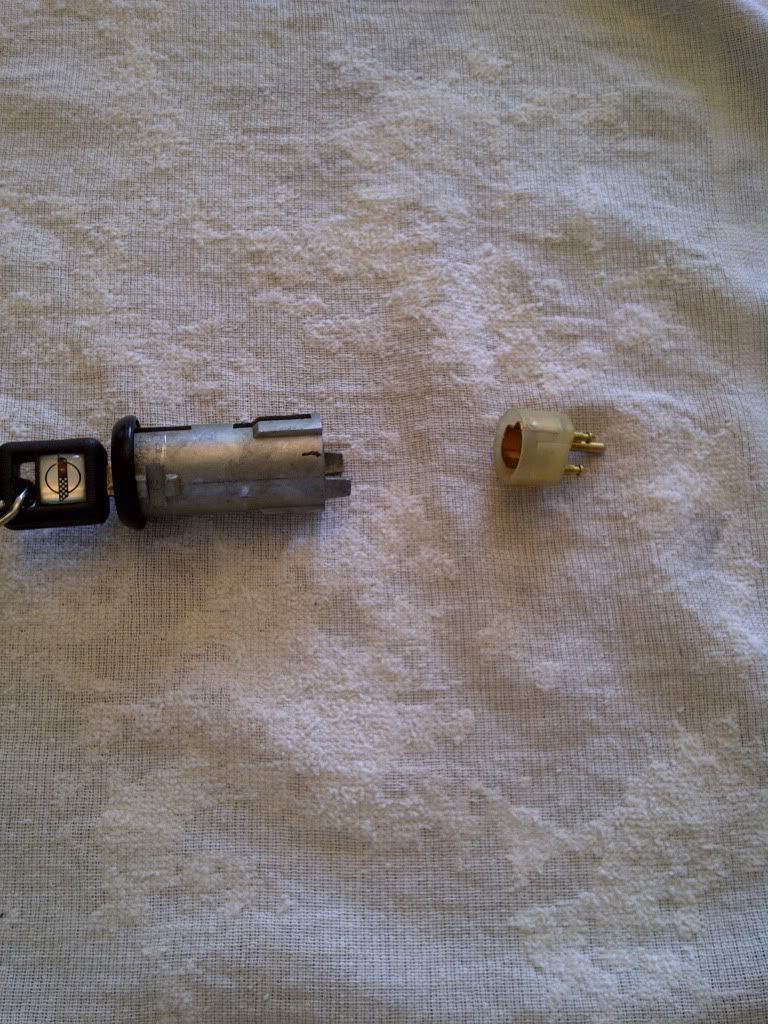 Once you get that part out turn it so that the open side is facing you and look for the side with two very small disks on it. It can....kinda...be seen on the top right of this picture....I need to remember my blackberry isn't a dslr when doing this... 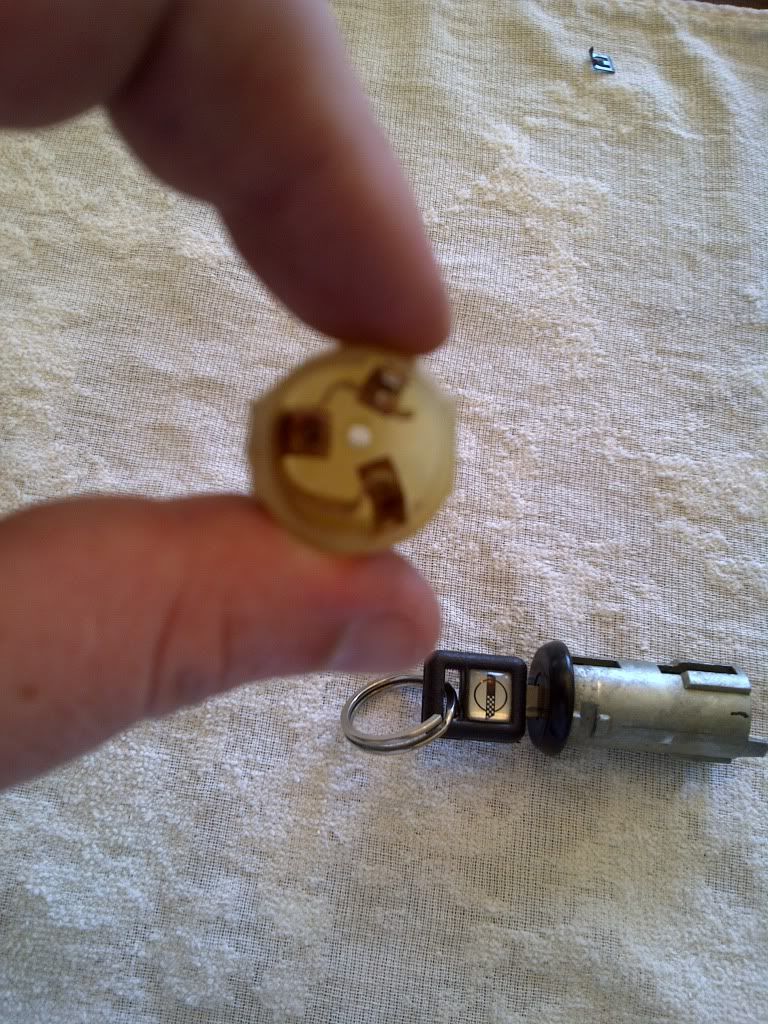 You want to crimp the two disks so that they are close together and make a good connection. How close you ask? I don't know. I guessed and then checked with an ohm meeter. Reassemble is just the reverse of this process. I used dielectric grease to make reassembly of the contacts into the cylinder easier this is your choice. The one thing you want to check before you reinstall the black ring is that the key is positioned properly inside the trim piece. Cycle the key and make sure it stops at "normal" and "full" and rotate the key until it does. Very easy, of course I had help from an expert so I wasn't as terrified as I would have been otherwise. Thanks for the help, you know who you are. The whole thing is very painless and quite easy. I hope you found this as helpful as I found it enjoyable to write. If you are unclear on any steps please ask about them and I'll try and give more info as best I can. Total time including fighting with the ring, fishing my fat *** in and out of the car to get tools, and some interior cleaning/change removal, ~2hrs. Pro-tip, take the roof off. you don't feel so fenced in then
__________________
It's not the car, it's the people - Doug Johnson 90 r/r "KEYS ON" nick named "T.L.B" Last edited by Kevin; 07-27-2011 at 07:00 PM. |
|
|

|
|
|
#2 |
|
Join Date: Jul 2009
Location: Redding Calif
Posts: 223
|
Kevin, nice write up.

|
|
|

|
|
|
#3 |
 Join Date: Dec 2004
Location: Jacksonville, FL USA
Posts: 4,609
|
 Yes, and thank you Kevin..........now I can go and do mine Yes, and thank you Kevin..........now I can go and do mine  
__________________
1990 ZR-1, Black/grey, #2233, stock. ZR-1 Net Reg Founding Member #316 & NCM member |
|
|

|
|
|
#4 |
 Join Date: Jul 2005
Location: Mendota Heights, MN. 55120
Posts: 983
|
|
|
|

|
|
|
#5 |
  Join Date: Jun 2005
Location: pittsburgh
Posts: 4,624
|
i'm glad it was helpful. let me know if you have any questions and i'll try and answer them as it's still fresh in my mind
__________________
It's not the car, it's the people - Doug Johnson 90 r/r "KEYS ON" nick named "T.L.B" |
|
|

|
|
|
#6 |
 Join Date: Jun 2012
Location: PA
Posts: 770
|
Nice write up Kevin. I just repaired mine, took less than a hour. My only suggestion would be not to use channel locks. Tried them, it came off after several attempts, but putting back on was problematic. I used a set of long nose needle pliers. Was way easier. There are 2 notches (at least on my '90) on the retaining ring, just hold the trim piece, open the pliers and put them in each notch, and turn. Obviously the pliers need to be longer than the cylinder.

|
|
|

|
|
|
#7 | |
 Join Date: Jan 2009
Location: Portland Oregon metro area (Washington side)
Posts: 3,193
|
Quote:
I rebuilt mine shortly after buying the car in 97. I went looking for pics and could not find them. I too used some long thick nosed needle nosed pliers. Has not failed since. I used dielectric grease on the contacts after bending them in.
__________________
Scott Vett owner since 1979._It's about the car and the people |
|
|
|

|
|
|
#8 | |
 Join Date: Jun 2012
Location: PA
Posts: 770
|
Quote:

|
|
|
|

|
|
|
#9 |
  Join Date: Jun 2005
Location: pittsburgh
Posts: 4,624
|
glad it was of some help to you joe
__________________
It's not the car, it's the people - Doug Johnson 90 r/r "KEYS ON" nick named "T.L.B" |
|
|

|
|
|
#10 |
 Join Date: Nov 2007
Location: Squires (near Ava MO in the Mark Twain N'tl Forest) - Missouri
Posts: 6,466
|
Nice writeup!
However, IF you have deleted the secondaries (1990s only), I recommend soldering a jumper between the two wires. This essentially bypasses the switch entirely, and you never have to worry about it becoming intermittent or someone/something accidently turning it to NORMAL position. (With secondaries deleted, fueling is shared by both injectors. If for any reason the switch became open or turned OFF, the secondary injectors shut down and the an extreme lean conditon occurs and/or the engine may not run at all... I'm just sayin.) P. |
|
|

|
 |
|
|