
|
 08-07-2010
|
#1 |
|
Join Date: Aug 2008
Location: Houston 90 Red ZR-1
Posts: 2,320
|
You have to gind down one of the ears of one bushing to about a 30 degree X 1/4 long chamfer. On the other about a 30 degree X 1/8 long chamfer so you can actually get them started. They will both have to be pressed in from the lipped side.
 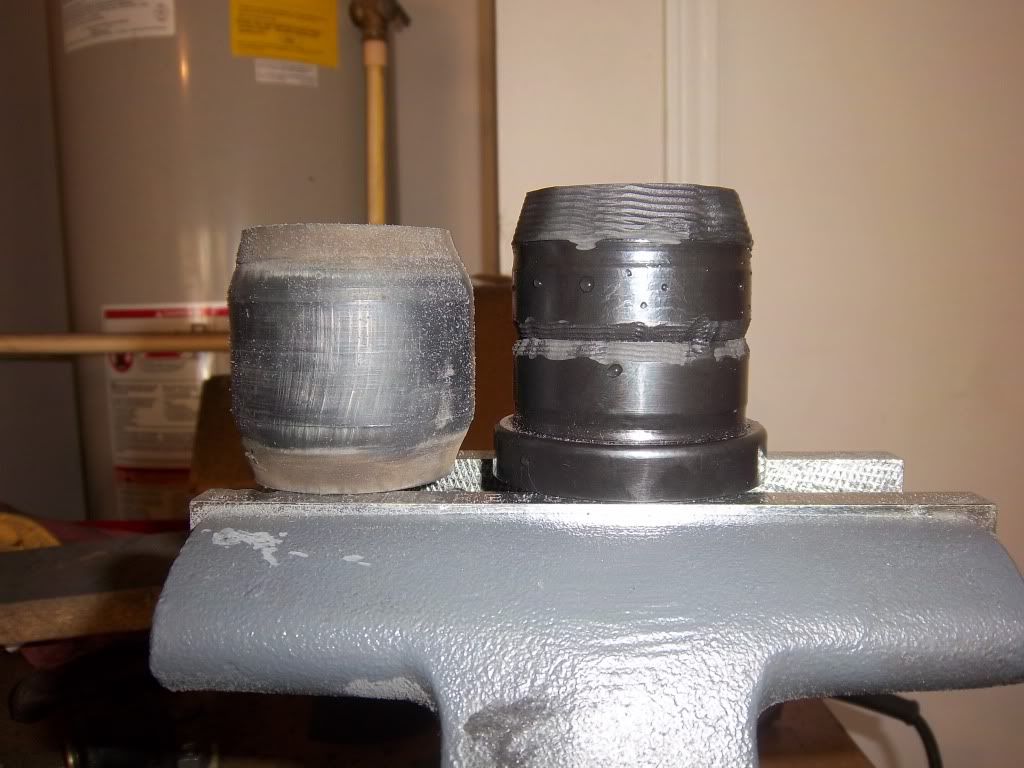 As you can see the bushing with the big chamfer is also chamfered smaller on the other side. Thats no necessary to do. I only did it because in the beginning I thought I was gonna be able to press them in from the front and back side. But this was a learning expieriance for me also. 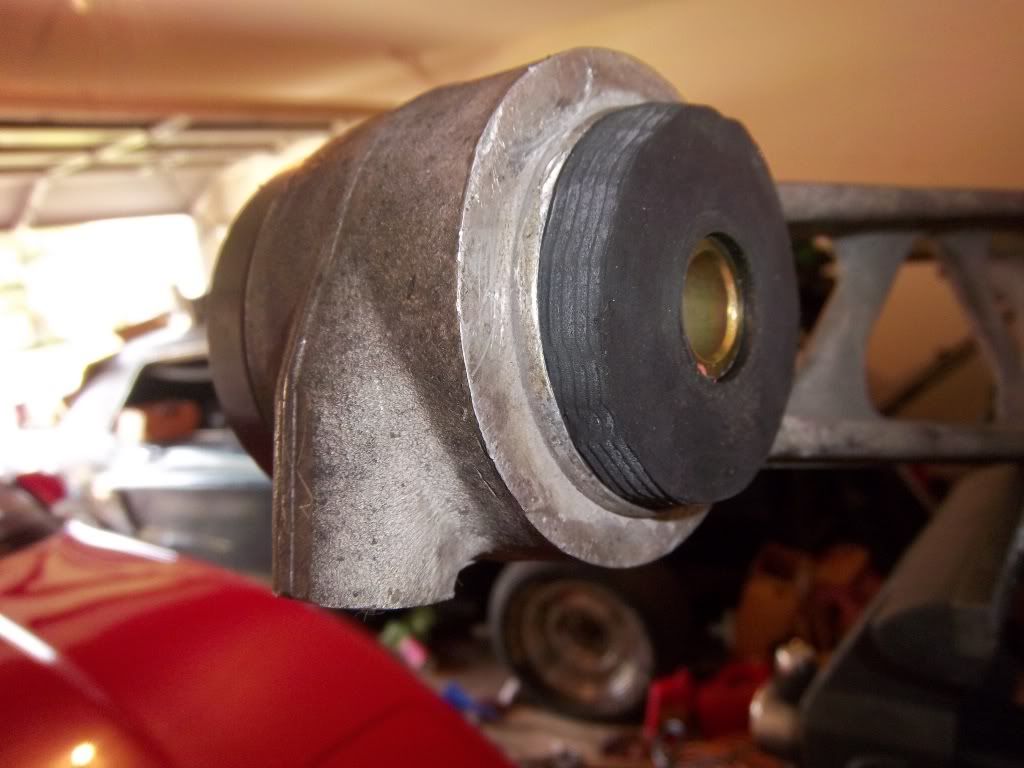  While I was at it I also put new poly on the adjustable rear camber rods. Heres a little vid on that.http://s301.photobucket.com/albums/n...urrent=yyy.mp4 |

|

|
|
08-08-2010
|
#2 |
 Join Date: May 2010
Location: Japan
Posts: 3,564
|
What brand are yours? The instructions that came with mine said the sleeve had to pressed out of the batwing.
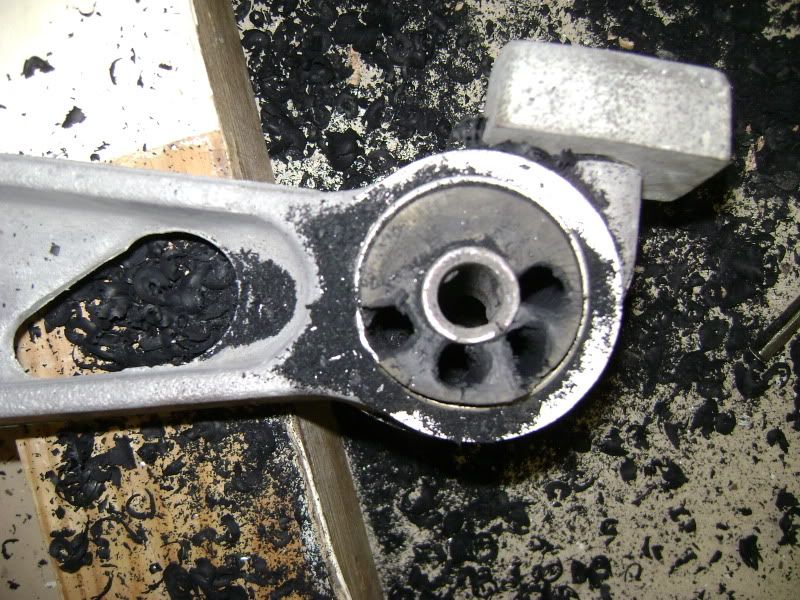 I do not have a press so I had drill out enough rubber so I could push out the center sleeve and then the rubber was able to come out. 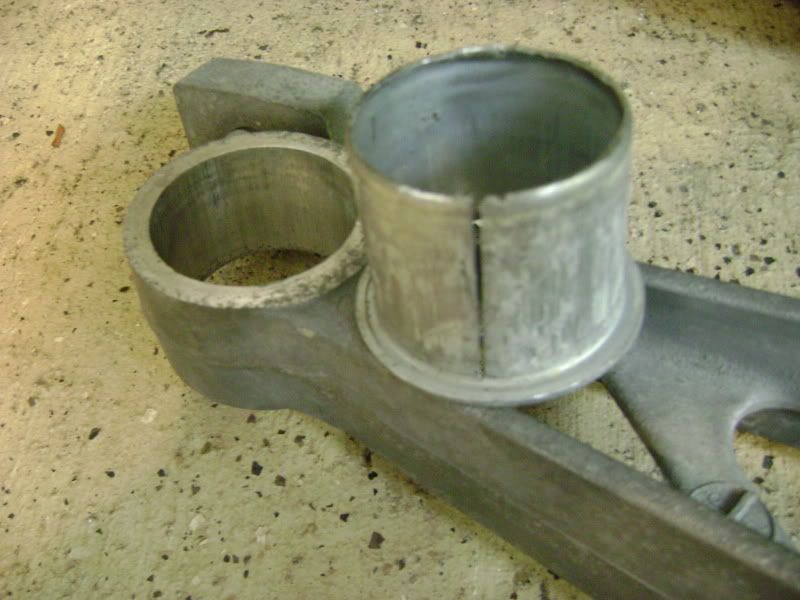 Since I did not have a press like the instructions said and even the Auto Crafts Shop on the military base did not have the right size to press out, I took off the hacksaw blade and reassembled it around the sleeve and cut very gently until I saw I was through the sleeve. I was then able to crush the sleeve and pull it out. 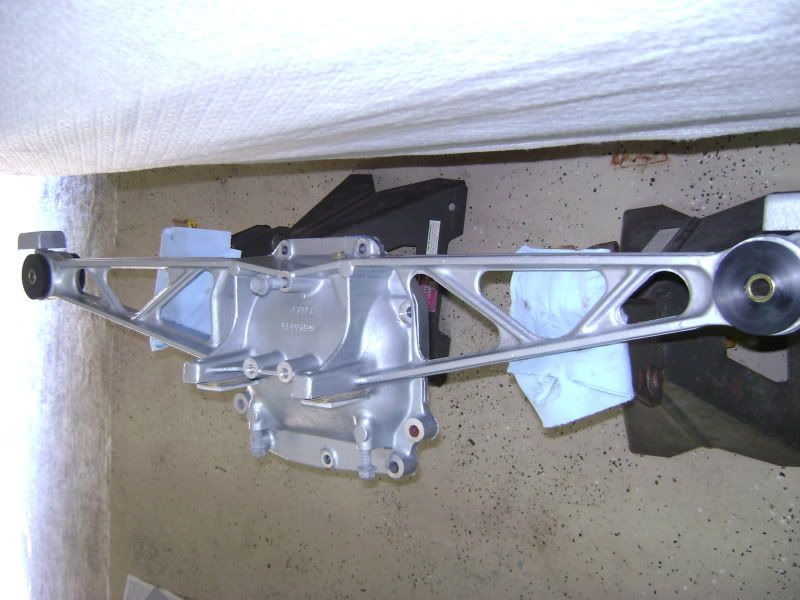 I then greased them and just slip them in. There was no cutting and trimming the poly bushing at all. I just thought I would share a different method.
__________________
Craig "ZR-1 NO KA 'OI" "ZR-1 ICHIBAN" 1995 #228 Black/Black with Dunn Heads ZR-1 owner since September 2003 ZR-1 Net Registry Founding Member #0074 NCM Lifetime Member #2048 
|
|
|
|
|
08-08-2010
|
#3 |
|
Join Date: May 2010
Location: Japan
Posts: 3,564
|
rhipsher,
I'm a little concerned after thinking about it and remembering how it mounts up in the body. Do you think you will need the poly trimmed off to hold the batwing in there properly? If you already buttoned up and drove it with no issues that I am wrong. It just seems it needs to have that portion flush with the batwing to remain stable in the mount to the body?  Just thought I would mention it. Just thought I would mention it.Craig
__________________
Craig "ZR-1 NO KA 'OI" "ZR-1 ICHIBAN" 1995 #228 Black/Black with Dunn Heads ZR-1 owner since September 2003 ZR-1 Net Registry Founding Member #0074 NCM Lifetime Member #2048
|
|
|
|
|
08-08-2010
|
#4 |
|
Join Date: Aug 2008
Location: Houston 90 Red ZR-1
Posts: 2,320
|
It drives great. And iif you look at the original rubber one it had no ears at all. Your not supposed to grease any of the bushings to help press them in. The grease is only for the I.D for the sleeve. And the ones that needed to be greased on the I.D were fluted. It is the prothane kit. And the kit didn't say anything about removing the bat wing sleeves. All that came with the kit was an inventory list. No how to instructions.
Last edited by rhipsher; 08-08-2010 at 11:08 AM. |
|
|
|
|
08-08-2010
|
#5 | |
 Join Date: Jun 2006
Location: Sparks, NV
Posts: 2,852
|
Quote:
H 
__________________
90'ZR-1 #1461 Red/Black Ported Intake, Degreed Cams, OBX Headers & Exhaust, Fidanza FW, Secondary Delete, Custom tune, C6 GS Wheels. Sold 08 C6 Z51 Crystal Red Metallic Sold Vararam Intake, Tune, Sold 05 C6 Z51 Red/Black Sold 90'ZR-1 #1723 Black/Gray Sold but not forgotten 91' Z51 L98 White Vert. My First, you always remember your first. Sold. |
|
|
|
|
|
08-08-2010
|
#6 | |
|
Join Date: May 2010
Location: Japan
Posts: 3,564
|
Quote:
 Here is more info and might have to replace the ***** with corvette forum http://forums.*************.com/c4-t...-bushings.html Thanks for posting all your info as it encouraged me to do the entire front end too and assemblying everything back today. I think I had the kit sitting in my cabinet for about 5 years or so. 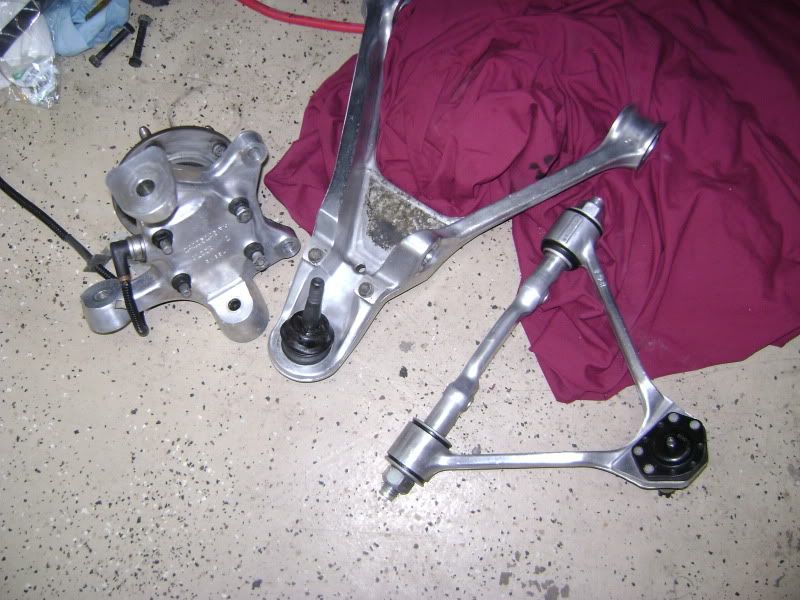 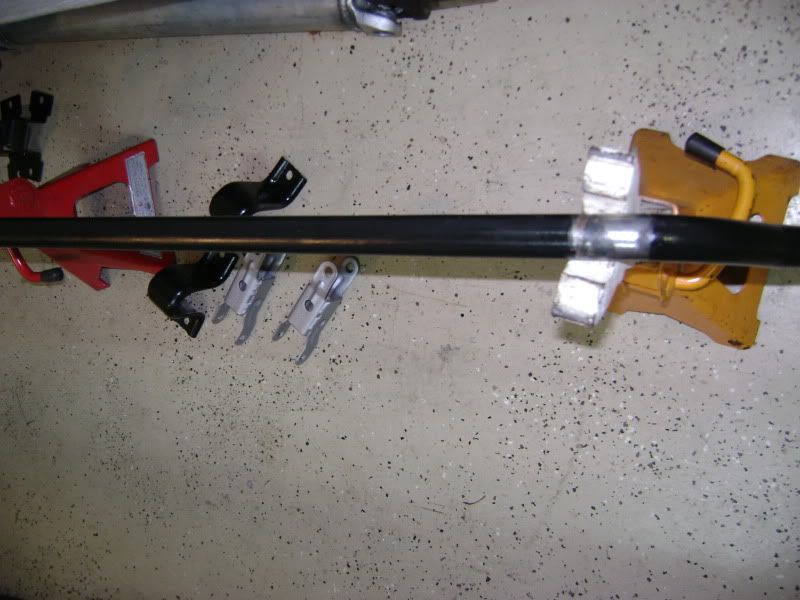 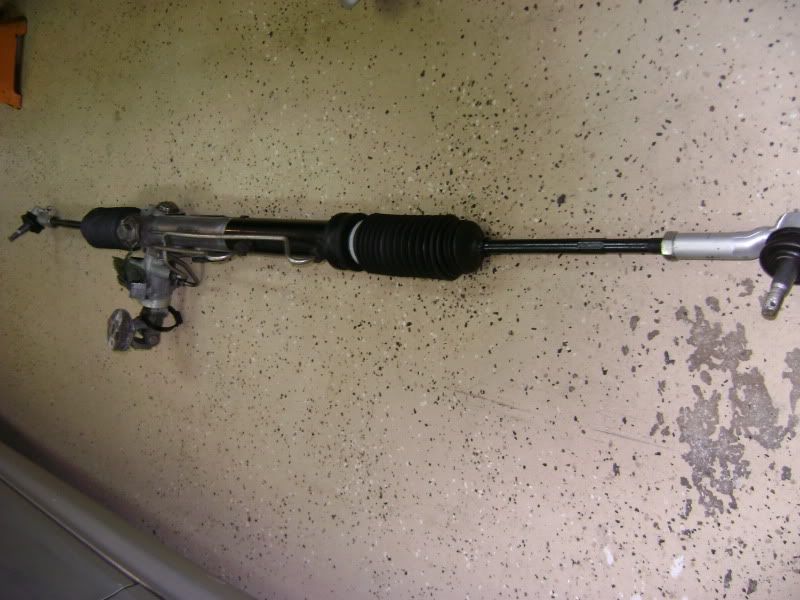
__________________
Craig "ZR-1 NO KA 'OI" "ZR-1 ICHIBAN" 1995 #228 Black/Black with Dunn Heads ZR-1 owner since September 2003 ZR-1 Net Registry Founding Member #0074 NCM Lifetime Member #2048
|
|
|
|
|
|
08-08-2010
|
#7 |
|
Join Date: Jun 2004
Location: Texas
Posts: 2,431
|
Craig,
Very shiney looking parts
__________________
95 ZR-1 BLK/Gry #392 LT5 Reg# 868 *RIP* ZR1NET Founding Mem #155 |
|
|
|
|
08-08-2010
|
#8 | |
|
Join Date: May 2010
Location: Japan
Posts: 3,564
|
Quote:
__________________
Craig "ZR-1 NO KA 'OI" "ZR-1 ICHIBAN" 1995 #228 Black/Black with Dunn Heads ZR-1 owner since September 2003 ZR-1 Net Registry Founding Member #0074 NCM Lifetime Member #2048
|
|
|
|
|
 |
|
|


 Linear Mode

