|
|
#1 |
 Join Date: Mar 2014
Location: Warrington PA
Posts: 1,914
|
Thought I would start a new thread for Throttle Body removal. Although the seasoned ZR-1 owners know this all too well, this is basically intended for an owner who may be apprehensive doing this for the first time.
With many suggestions, advice, text, and returned PM's in the last 24-48 hours from different members that I contacted, a big thank you to all...   I also searched Cliff's Solutions, and maybe missed the thread for pics or detailed info that I was looking for....you could read his info for hours....  So here we go.....disconnect the battery, just in case.... here are the tools you will need for removal.... I used 3/8" drive....breaker bar, ratchet, extensions and Torx socket set. Also good to have a pencil or long magnet on hand. You will also need a "mallet" hammer just to tap the throttle body loose after the bolts are removed. 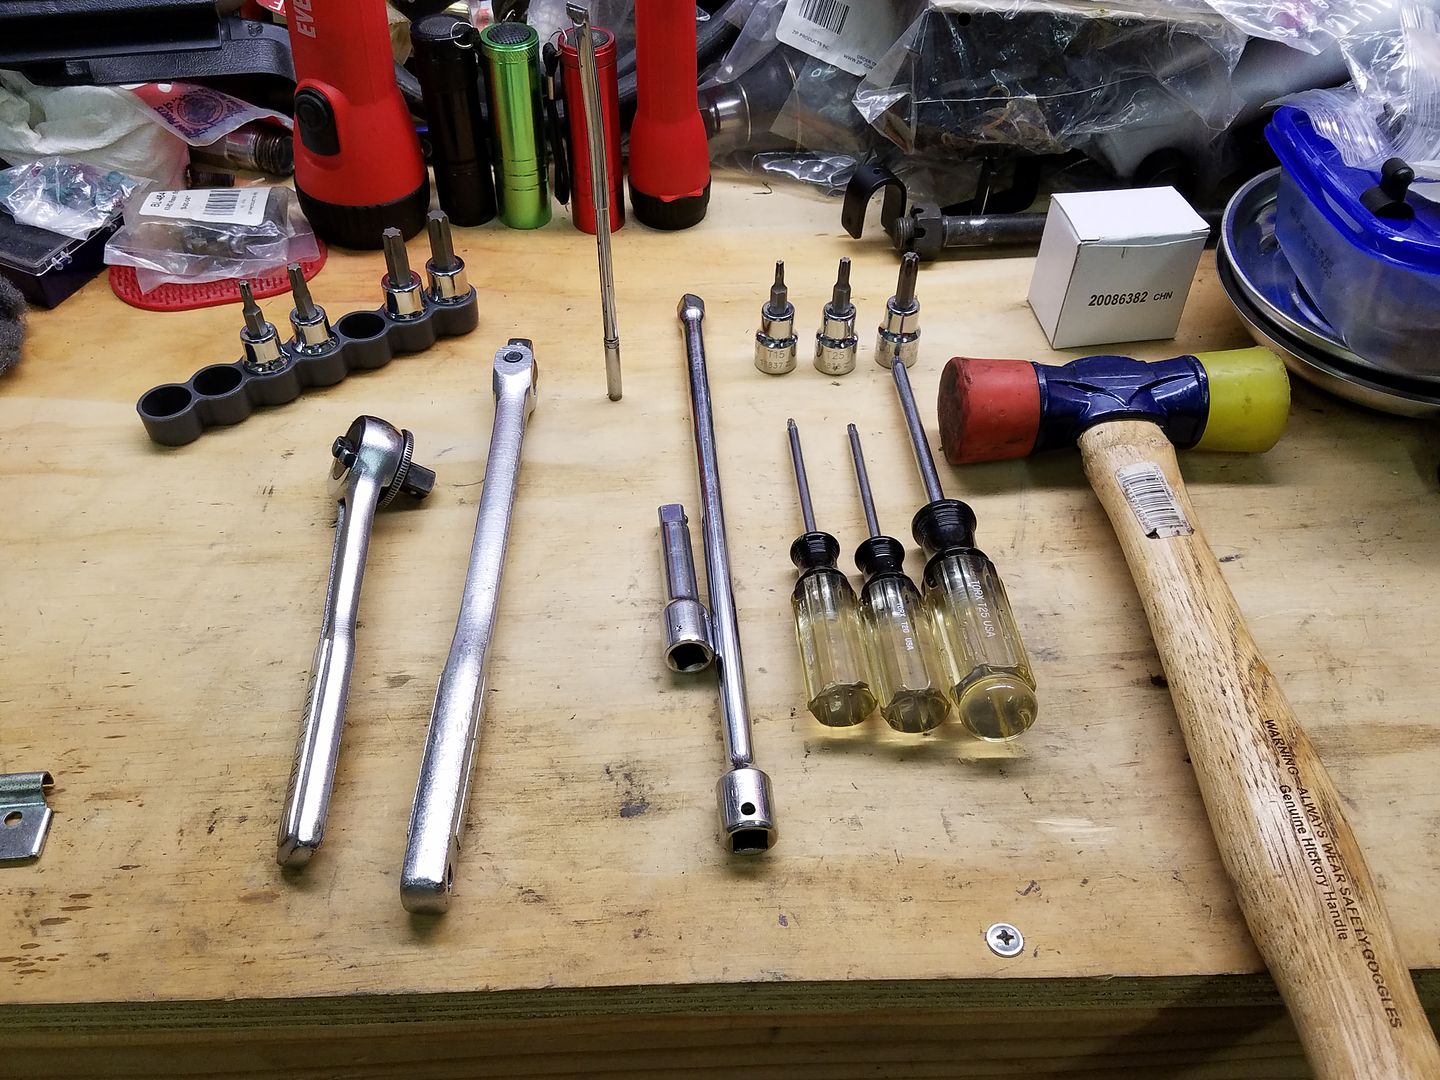 1-air cleaner assembly removed 2-air horn removed....there are 4 T-25 screws that hold the air horn on the inside, and 2 T-25 screws that are on the outside on the top at opposite ends. The bolts on the inside are made so they stay attached to the air horn when removed. Only problem with mine, is that one bolt comes completely out. That a good reason for the magnet, just in case. 3-undo the 2 T-15 screws on top of the plenum that hold the throttle cable to the top of the plenum. I used blue painters tape to mark the cable so I would reinstall in the exact position. 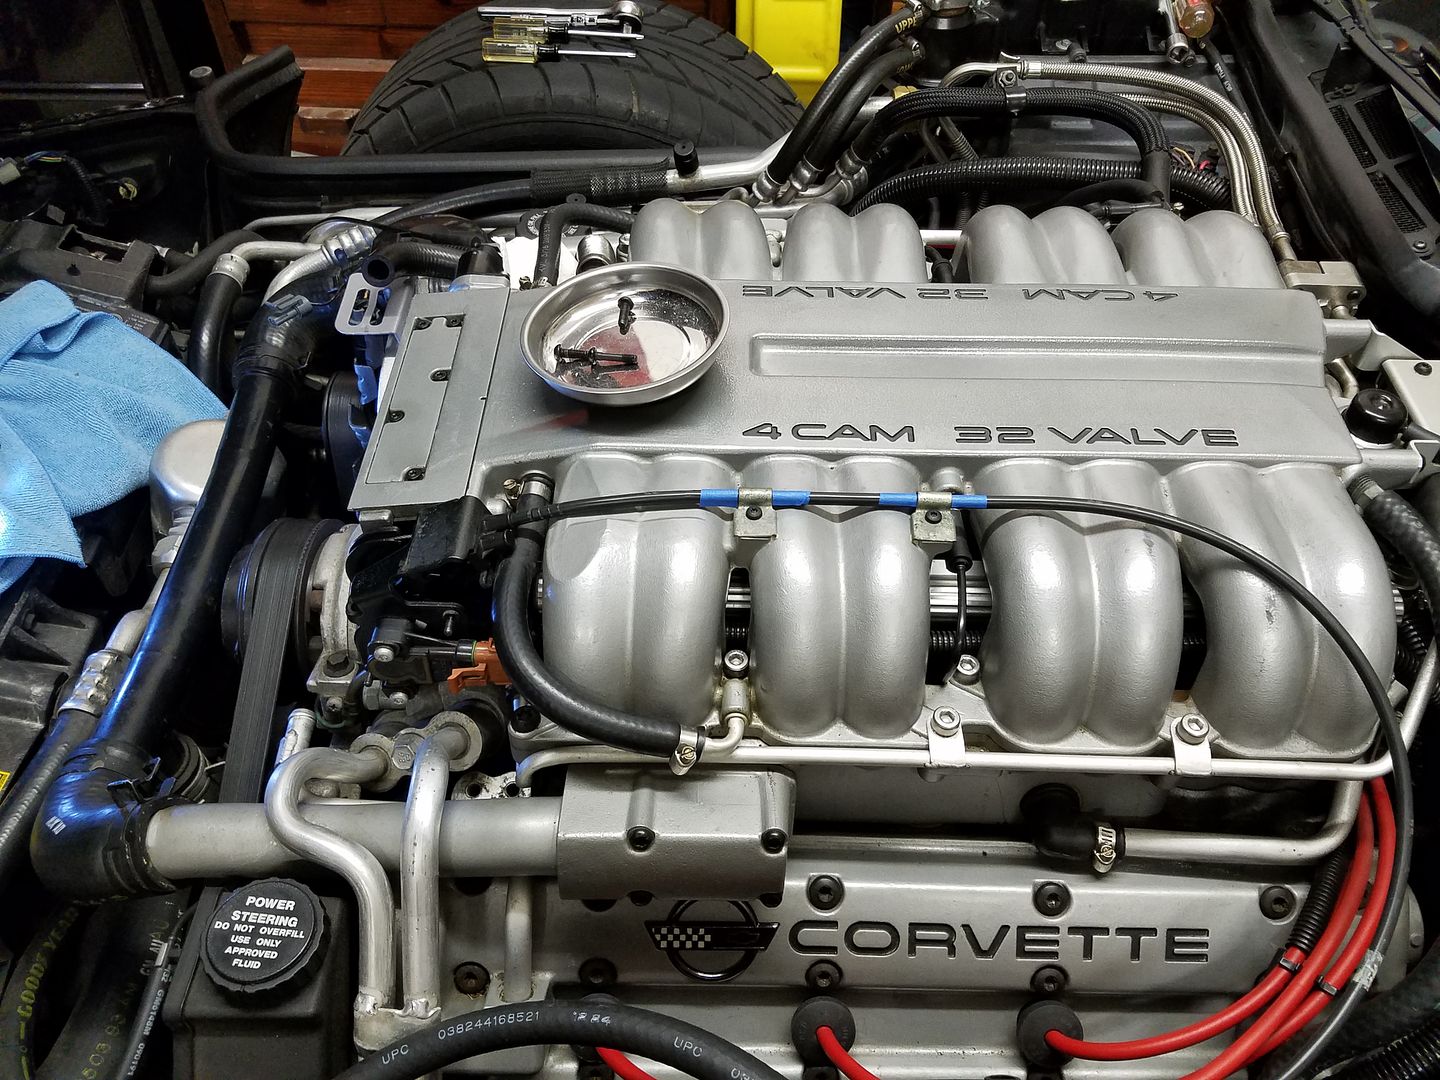
__________________
Tom 1994 ZR-1 #009 "captured test fleet car" 1974 LS4 454 Vert 1974 L-82 355 Vert. 1982 L83 CFI...now a retired "dd"....Sold WAZOO Member |
|
|

|
|
|
#2 |
 Join Date: Mar 2014
Location: Warrington PA
Posts: 1,914
|
4-now that the cable is undone you can remove the 5 T40 screws with a breaker bar to get them loose and then use your lightweight hammer to tap the TB loose.
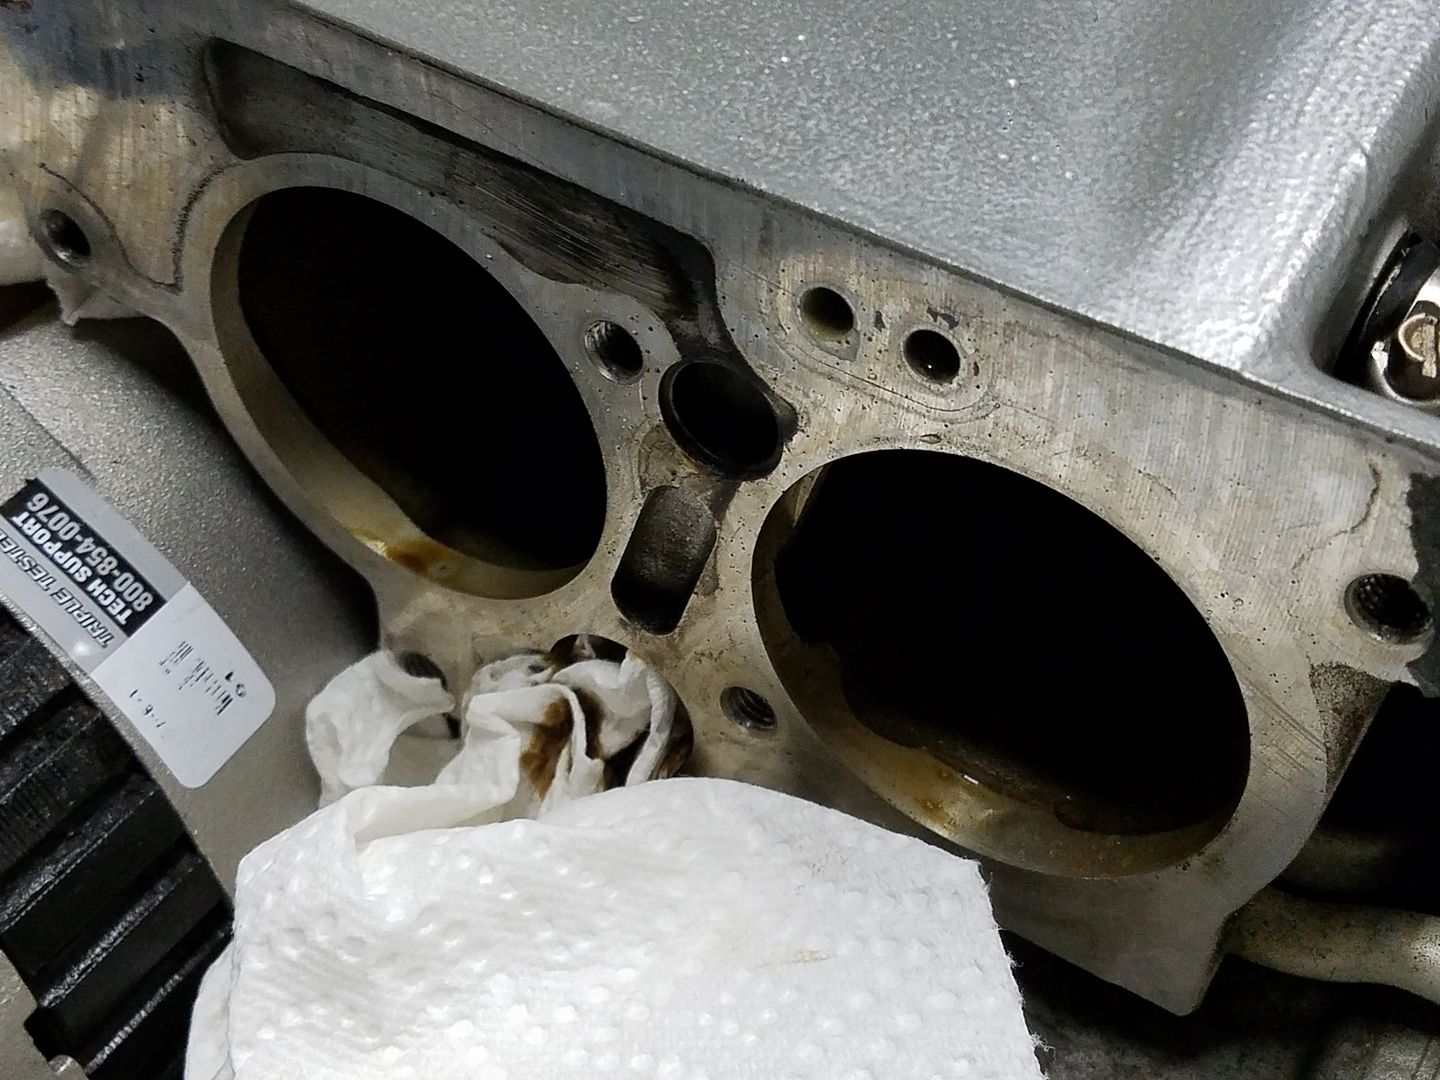 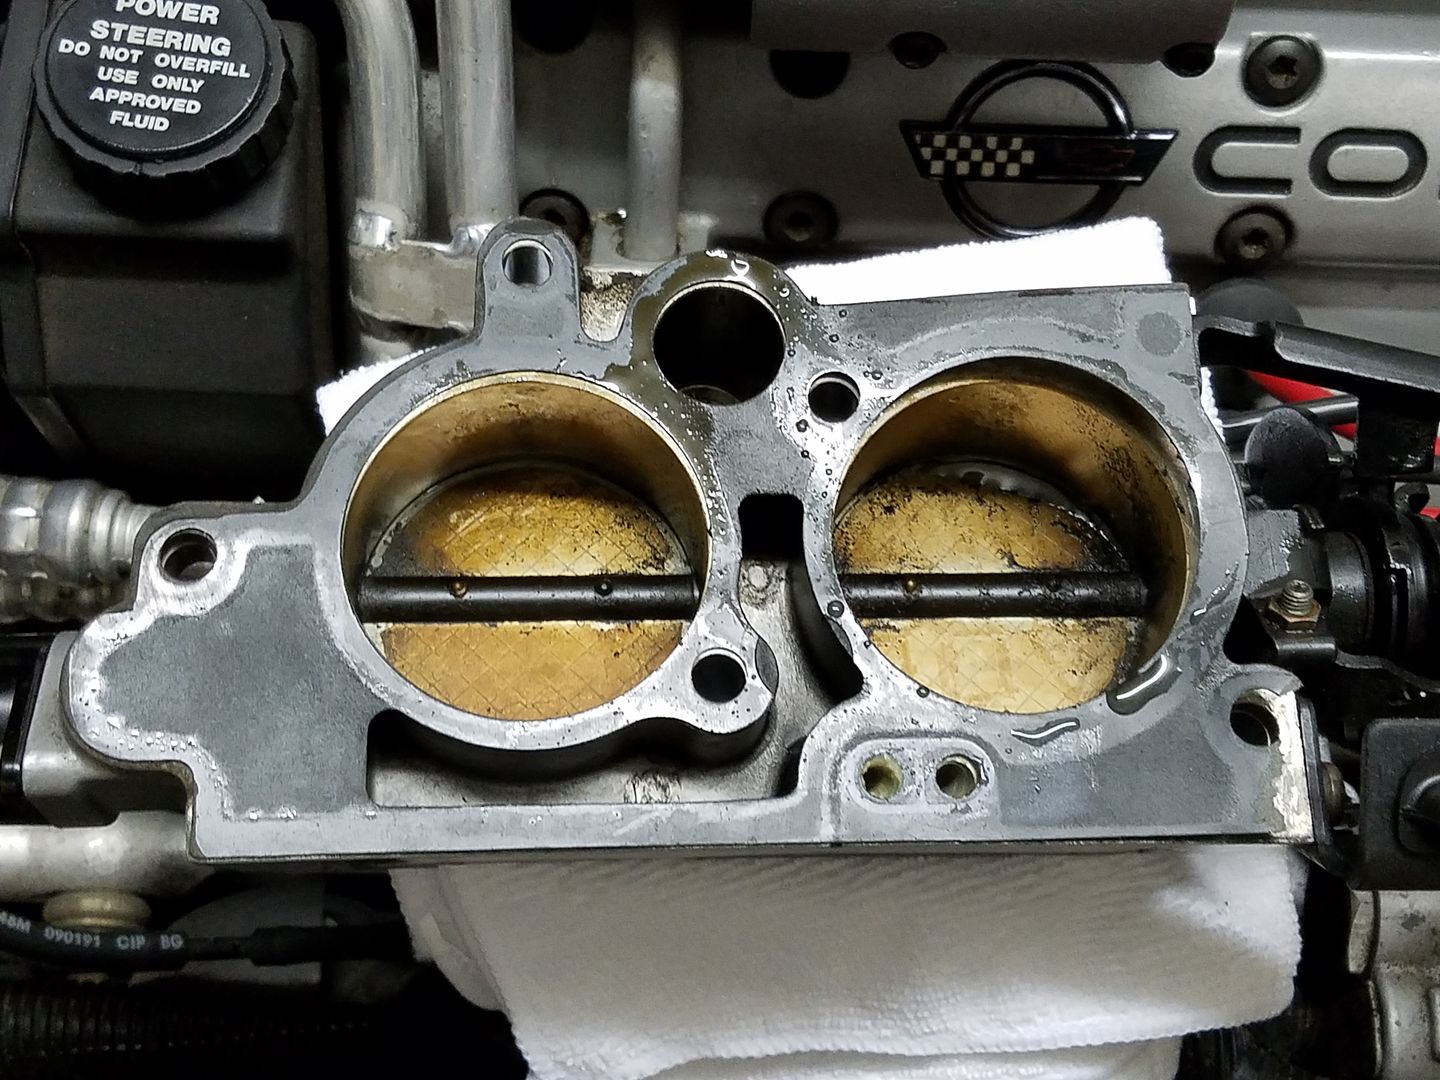 5-Pay attention to the size of the bolts that come out of the TB, lay them out in the rotation that they were removed and take note. That way upon installation, they will go back in the same location. 4 are on the paper towel, from R-L and the 5th bolt is to the left of the pic, you can barely see the thread, that is the bottom bolt. 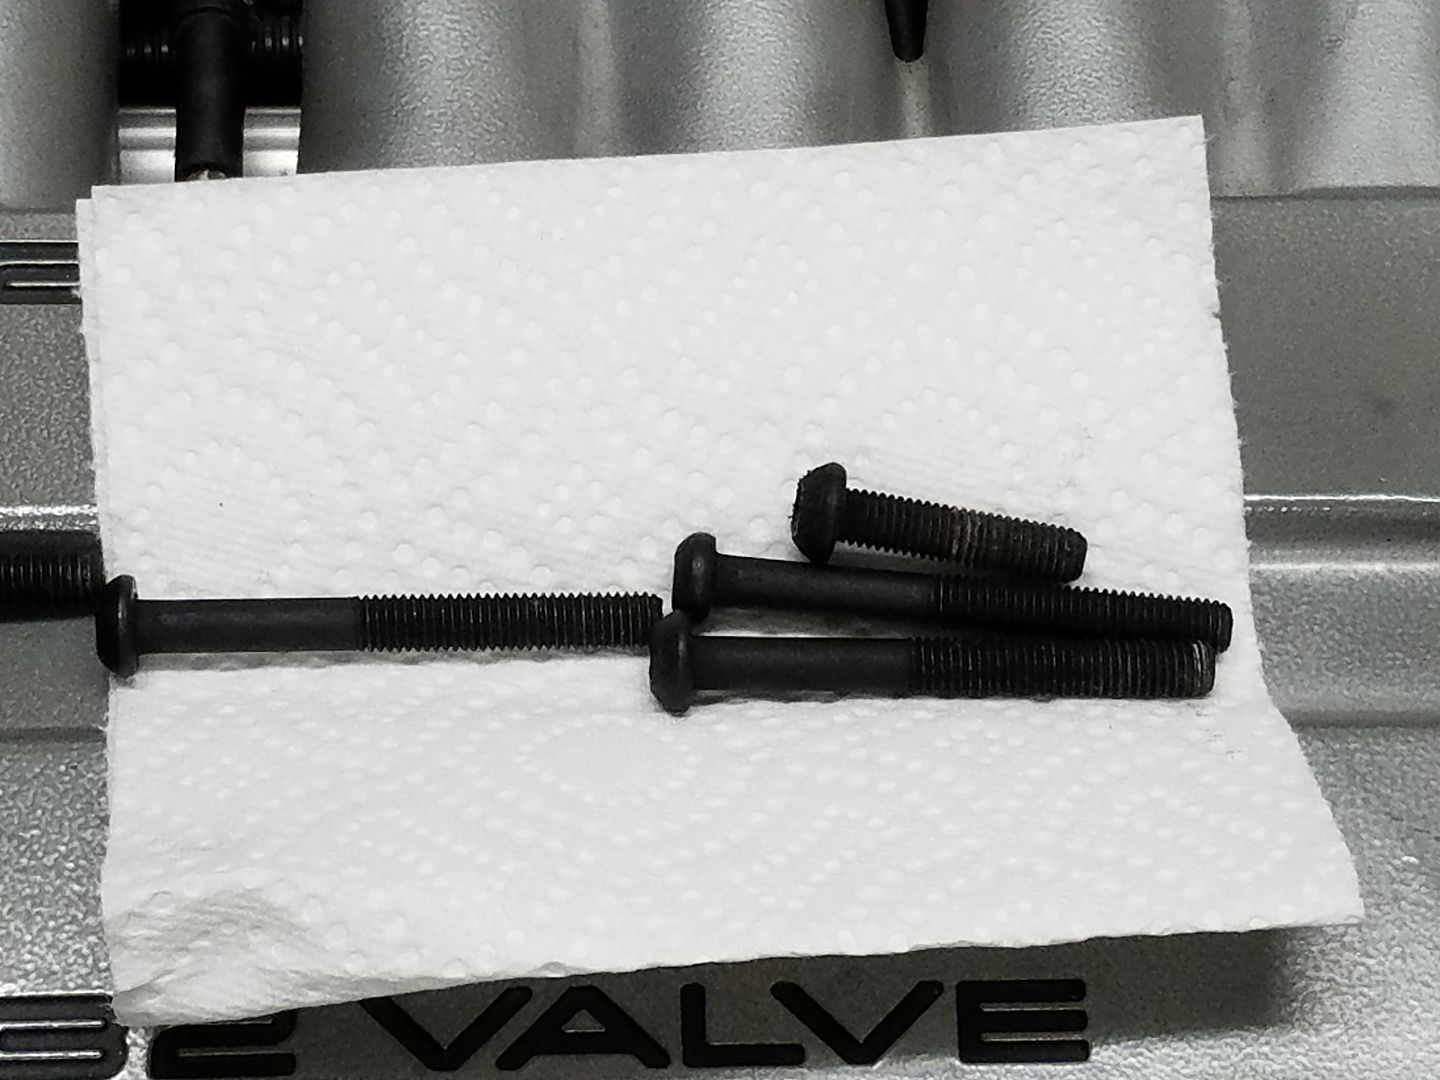 6-My finish on the TB is peeling off, I just may undo the cable now that I can see how it is attached and refinish the TB myself or send it out to Marc for a complete overhaul, don't know yet. 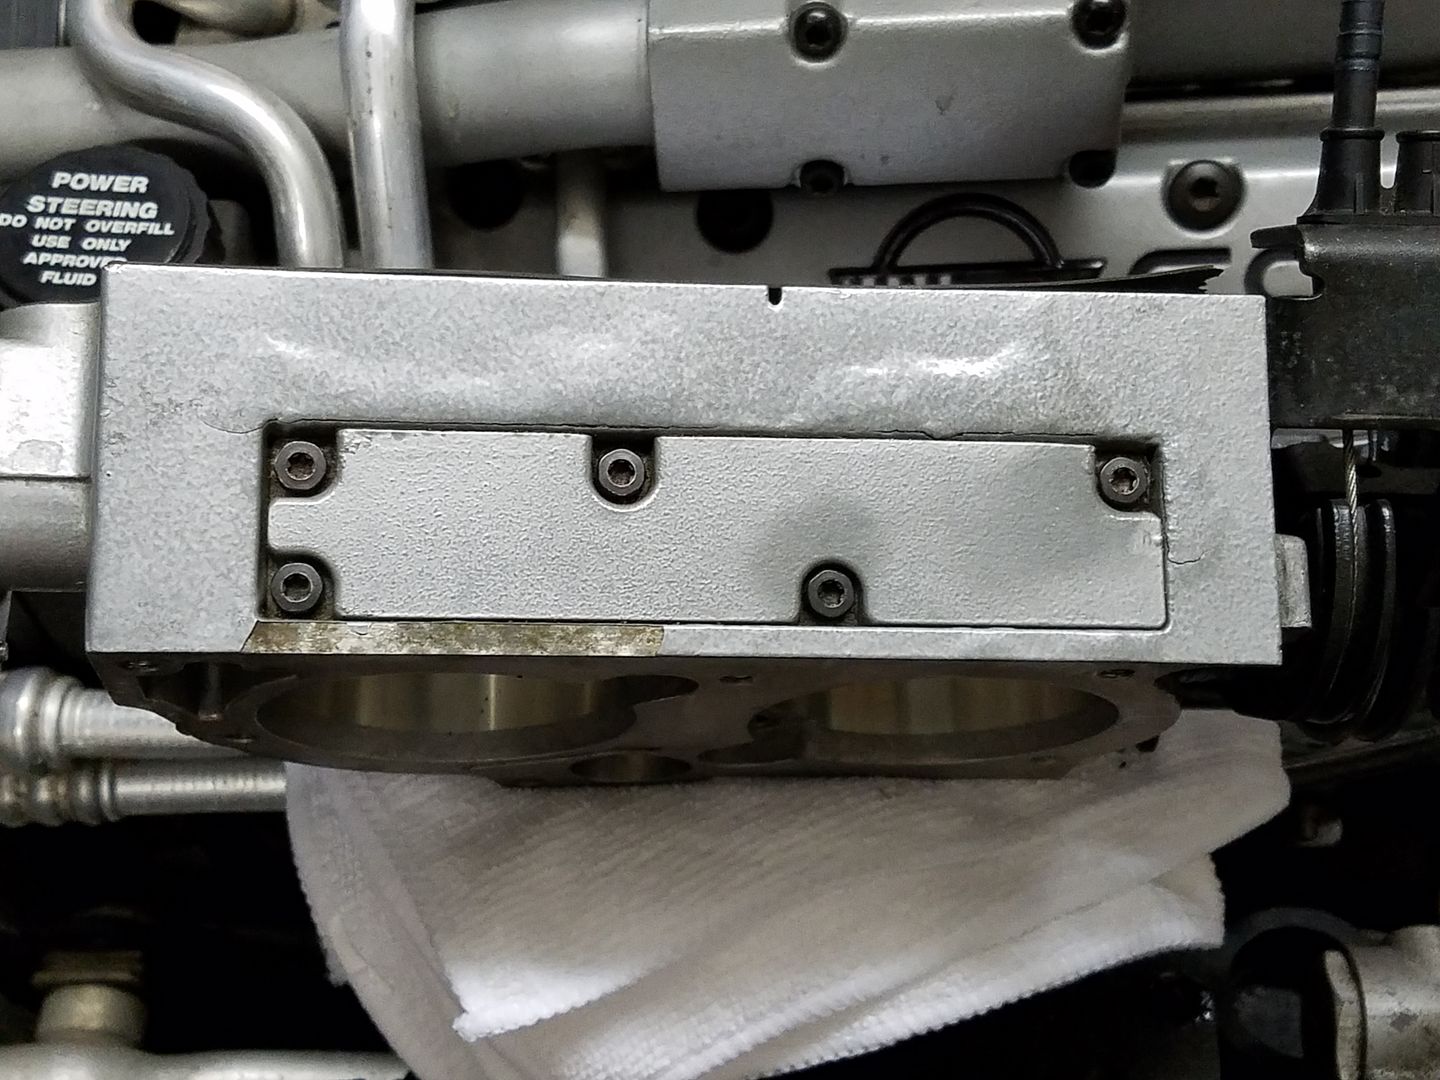
__________________
Tom 1994 ZR-1 #009 "captured test fleet car" 1974 LS4 454 Vert 1974 L-82 355 Vert. 1982 L83 CFI...now a retired "dd"....Sold WAZOO Member Last edited by Roadster; 04-28-2017 at 05:14 PM. |
|
|

|
|
|
#3 |
 Join Date: Mar 2014
Location: Warrington PA
Posts: 1,914
|
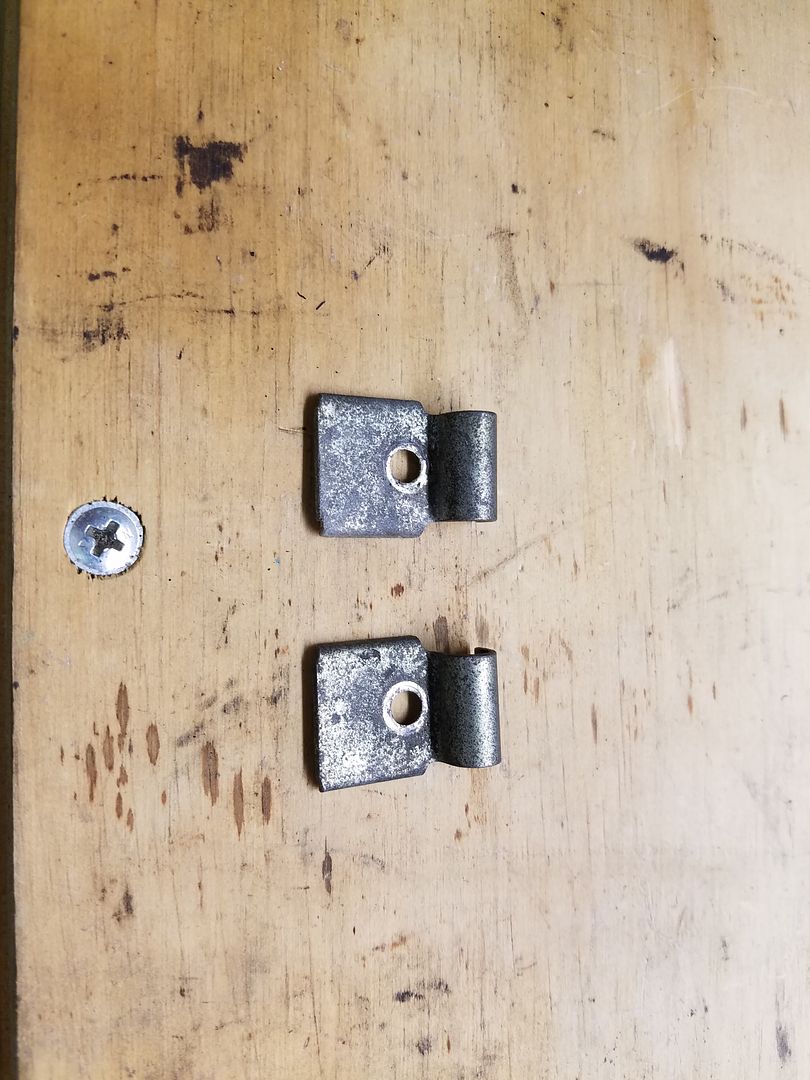
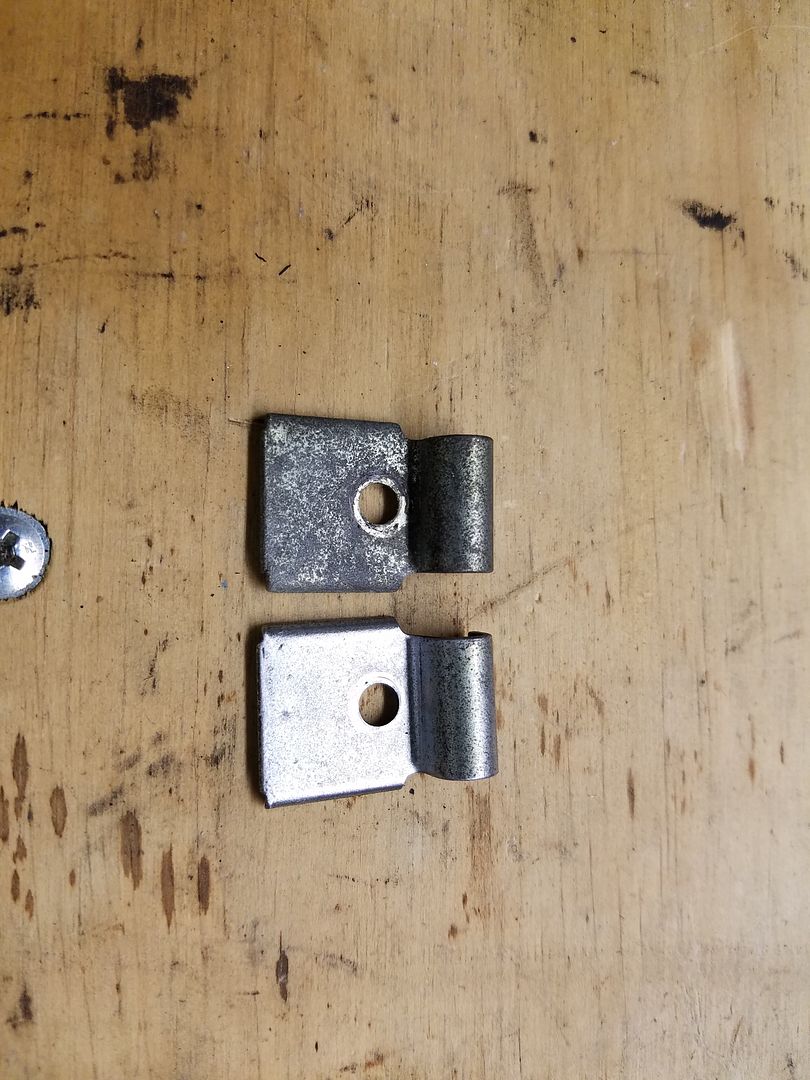
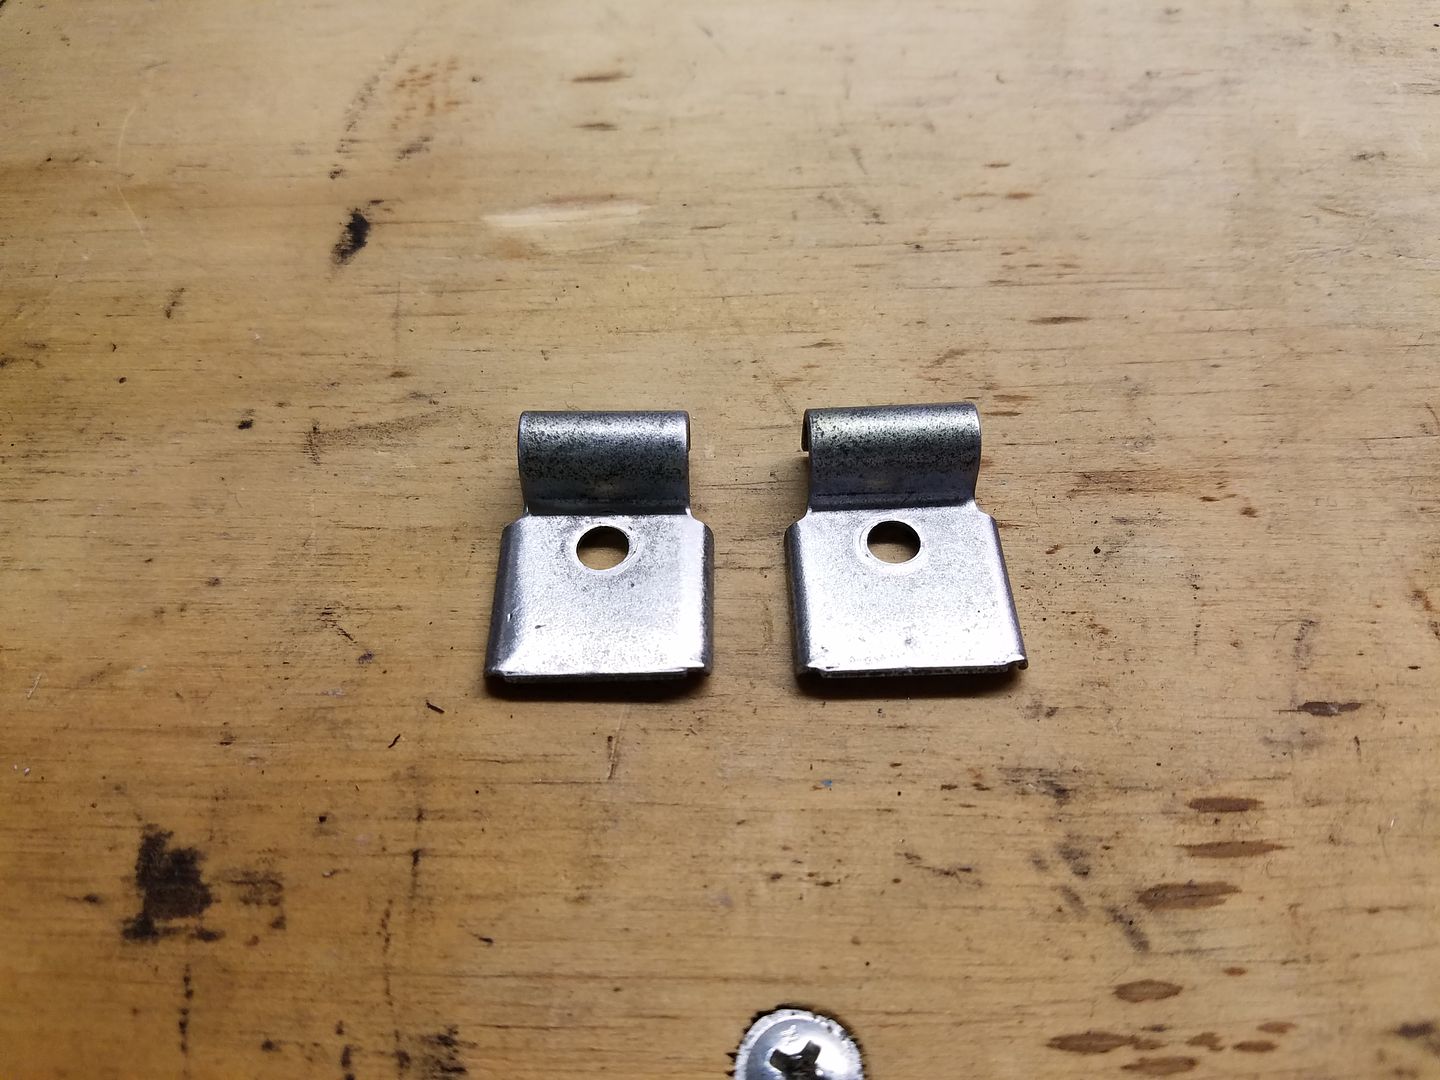
7-now is a good time for the little things too....such as the clips...already sanded and 0000 steel wool used and ready for paint...
   Again, thanking everyone for their quick responses to my inquiries and an especially big thanks to Yun (secondchance) who has always answered my text at any time whenever needed Appreciating all of the input received...... 
__________________
Tom 1994 ZR-1 #009 "captured test fleet car" 1974 LS4 454 Vert 1974 L-82 355 Vert. 1982 L83 CFI...now a retired "dd"....Sold WAZOO Member Last edited by Roadster; 04-28-2017 at 03:10 PM. |
|
|

|
|
|
#4 |
   Join Date: May 2007
Location: Peoria, AZ
Posts: 9,155
|
 Now that you feel comfortable time for the stainless bolts upgrade Now that you feel comfortable time for the stainless bolts upgrade
__________________
GOLDCYLON - 91 ZR-1 #2014 GOLDCYLON - 90 ZR-1 #2794, 4L60e (Formerly Schrade's) GOLDCYLON - 11 CTS-V Arizona State Director  91 WHITE/BLACK #2014. 380 P&P&PCed,Ported Heads, Jeal Long tubes, Corsa Exhaust/FIKSE FM-5s /LED TLs, LED Headlights, Front Wilwood 6 piston narrowlite calipers and rear Wilwood caliper street shop mod,CNCed Coolant Pipes,TPI Cvr,Filter cover,Stainless Bolts, DRM/DOM PROM /ZFDOC mod build #102,DRLs,BMAD with stainless Debris Screen,Coplan Air Blaster, Pioneer APP Radio 4,Brey-Krause HB,Sub Bar,Fire extinguisher seat mount,DRM Coilovers,LEDs everywhere,Compass mirror (orange),V1 DIC hidden display, Homelink sun visor, Carbon Fiber top x3 and APSIS Carbon Fiber interior, APSIS CF Steering Wheel/NAPA Leather, Banski trailing arms, Guldstrand front suspension,urethane bushings from Prothane (total suspension) ZFDoc drive shaft safety loop, raptor shift light (orange),AO engineering louver front plate, Console seat cushion, 96CE seats with black custom Sheepskins, ss billet catch can,Viper remote entry/alarm,Cragar Rear Louvers,LED side louver lights, Dewitts Radiator with SPAL fans and a Woods 160 T-Stat 90 RED/BLACK #2794. 4L60e Automatic Stage V by RPM Transmission, TCI Dedicated TCM, OBX Stainless Headers, Corsa Exhaust, SAN Secondaries and Haibeck PROM, Exotic Muscle Coil overs, LED Interior Lights, LED Tail Lights, LED Headlights, 94 Sport seats with black custom Sheepskins , Cragar rear louvers, GS Front calipers, Banski Trailing arms, APSIS Carbon Fiber steering wheel, Front and Rear Baer Eradispeeds, DRLs, Guldstrand front suspension,urethane bushings from Prothane (total suspension), Dewitt's Raditor with Dual SPAL fans and a Haibeck 170 T-Stat 11 RED/GREY CTS-V |
|
|

|
|
|
#5 |
 Join Date: Mar 2014
Location: Warrington PA
Posts: 1,914
|
Oh i always feel comfortable, lol, but with my luck you never know what is going to happen next....the stories i could tell....lol
We did the stainless on the plenum when we did the pull, except one got lost in never never land....but will check into the others..... Sent from my SM-G935P using ZR-1 Net Registry mobile app
__________________
Tom 1994 ZR-1 #009 "captured test fleet car" 1974 LS4 454 Vert 1974 L-82 355 Vert. 1982 L83 CFI...now a retired "dd"....Sold WAZOO Member |
|
|

|
|
|
#6 |
 Join Date: Aug 2006
Location: McLean, VA
Posts: 3,721
|
Tom,
First, your erratic idle rpm may be due to intermittent vacuum leak. As for the TB corrosion, this is caused by galvanic corrosion - electric current plus steel bolt and aluminum TB, both exposed to water base coolant. Even if refinished will return unless the cause is resolved. In my case, bypassing coolant through TB, was the fix. |
|
|

|
|
|
#7 | |
   Join Date: May 2007
Location: Peoria, AZ
Posts: 9,155
|
Quote:
__________________
GOLDCYLON - 91 ZR-1 #2014 GOLDCYLON - 90 ZR-1 #2794, 4L60e (Formerly Schrade's) GOLDCYLON - 11 CTS-V Arizona State Director  91 WHITE/BLACK #2014. 380 P&P&PCed,Ported Heads, Jeal Long tubes, Corsa Exhaust/FIKSE FM-5s /LED TLs, LED Headlights, Front Wilwood 6 piston narrowlite calipers and rear Wilwood caliper street shop mod,CNCed Coolant Pipes,TPI Cvr,Filter cover,Stainless Bolts, DRM/DOM PROM /ZFDOC mod build #102,DRLs,BMAD with stainless Debris Screen,Coplan Air Blaster, Pioneer APP Radio 4,Brey-Krause HB,Sub Bar,Fire extinguisher seat mount,DRM Coilovers,LEDs everywhere,Compass mirror (orange),V1 DIC hidden display, Homelink sun visor, Carbon Fiber top x3 and APSIS Carbon Fiber interior, APSIS CF Steering Wheel/NAPA Leather, Banski trailing arms, Guldstrand front suspension,urethane bushings from Prothane (total suspension) ZFDoc drive shaft safety loop, raptor shift light (orange),AO engineering louver front plate, Console seat cushion, 96CE seats with black custom Sheepskins, ss billet catch can,Viper remote entry/alarm,Cragar Rear Louvers,LED side louver lights, Dewitts Radiator with SPAL fans and a Woods 160 T-Stat 90 RED/BLACK #2794. 4L60e Automatic Stage V by RPM Transmission, TCI Dedicated TCM, OBX Stainless Headers, Corsa Exhaust, SAN Secondaries and Haibeck PROM, Exotic Muscle Coil overs, LED Interior Lights, LED Tail Lights, LED Headlights, 94 Sport seats with black custom Sheepskins , Cragar rear louvers, GS Front calipers, Banski Trailing arms, APSIS Carbon Fiber steering wheel, Front and Rear Baer Eradispeeds, DRLs, Guldstrand front suspension,urethane bushings from Prothane (total suspension), Dewitt's Raditor with Dual SPAL fans and a Haibeck 170 T-Stat 11 RED/GREY CTS-V |
|
|
|

|
|
|
#8 | ||
 Join Date: Mar 2014
Location: Warrington PA
Posts: 1,914
|
I imagine that everyone else is having the same problem with the forum. Don't know what I did, but I may be able to post......lol
Quote:
I found the problem apparently the smoke test was correct. I don't think I have an intermittent vacuum leak, rather it is indeed the primary blade. The TB bypass may be an option for me in the future...I will probably need your expertize for that mod as I know you have something different that you do from reading previous threads. Did the light test recommended by G8nightman (George) with a flashlight shining through the throttle body blades. I can tell you when you turn out the lights in the garage, it gets dark real quick!!!  But the results are in and correct. When shinning the light through each secondary blade, there is no light what-so-ever coming through. When holding the light up to the primary blade from the back, you can see a good amount of light and also see how far the blade is open. I would venture to say that is my idle problem, no doubt. Thanks George for the tip and btw, your PM box was fill as of early this AM. Here are the pics.... light through the primary blade... 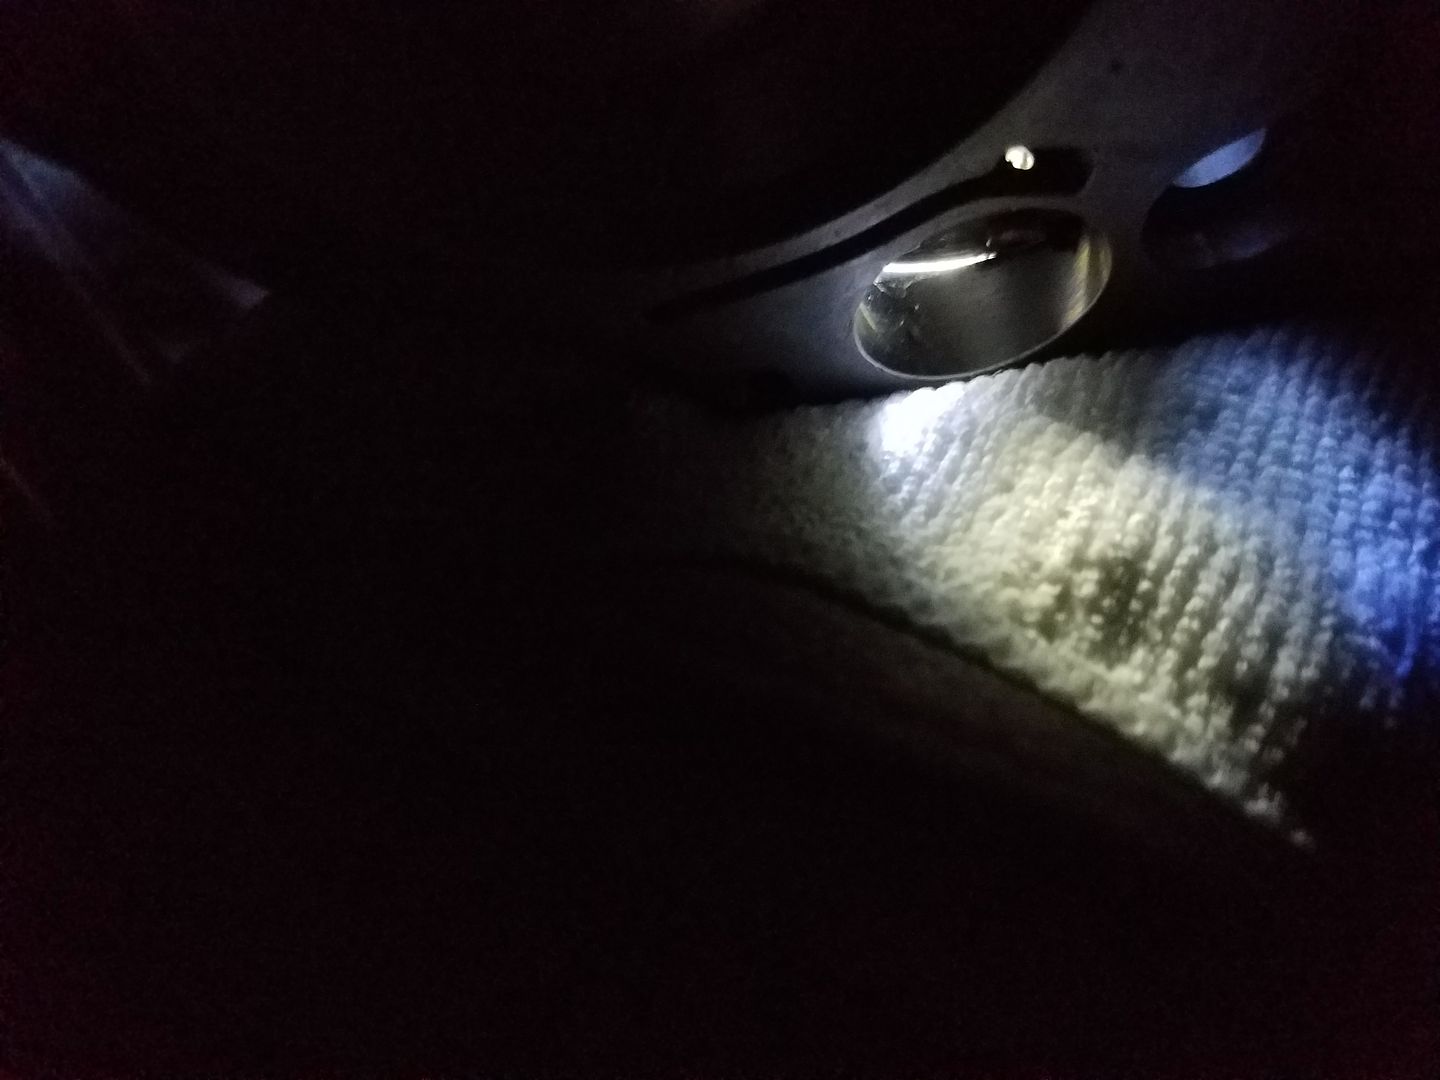 light turned off...see what I mean about it being dark..... 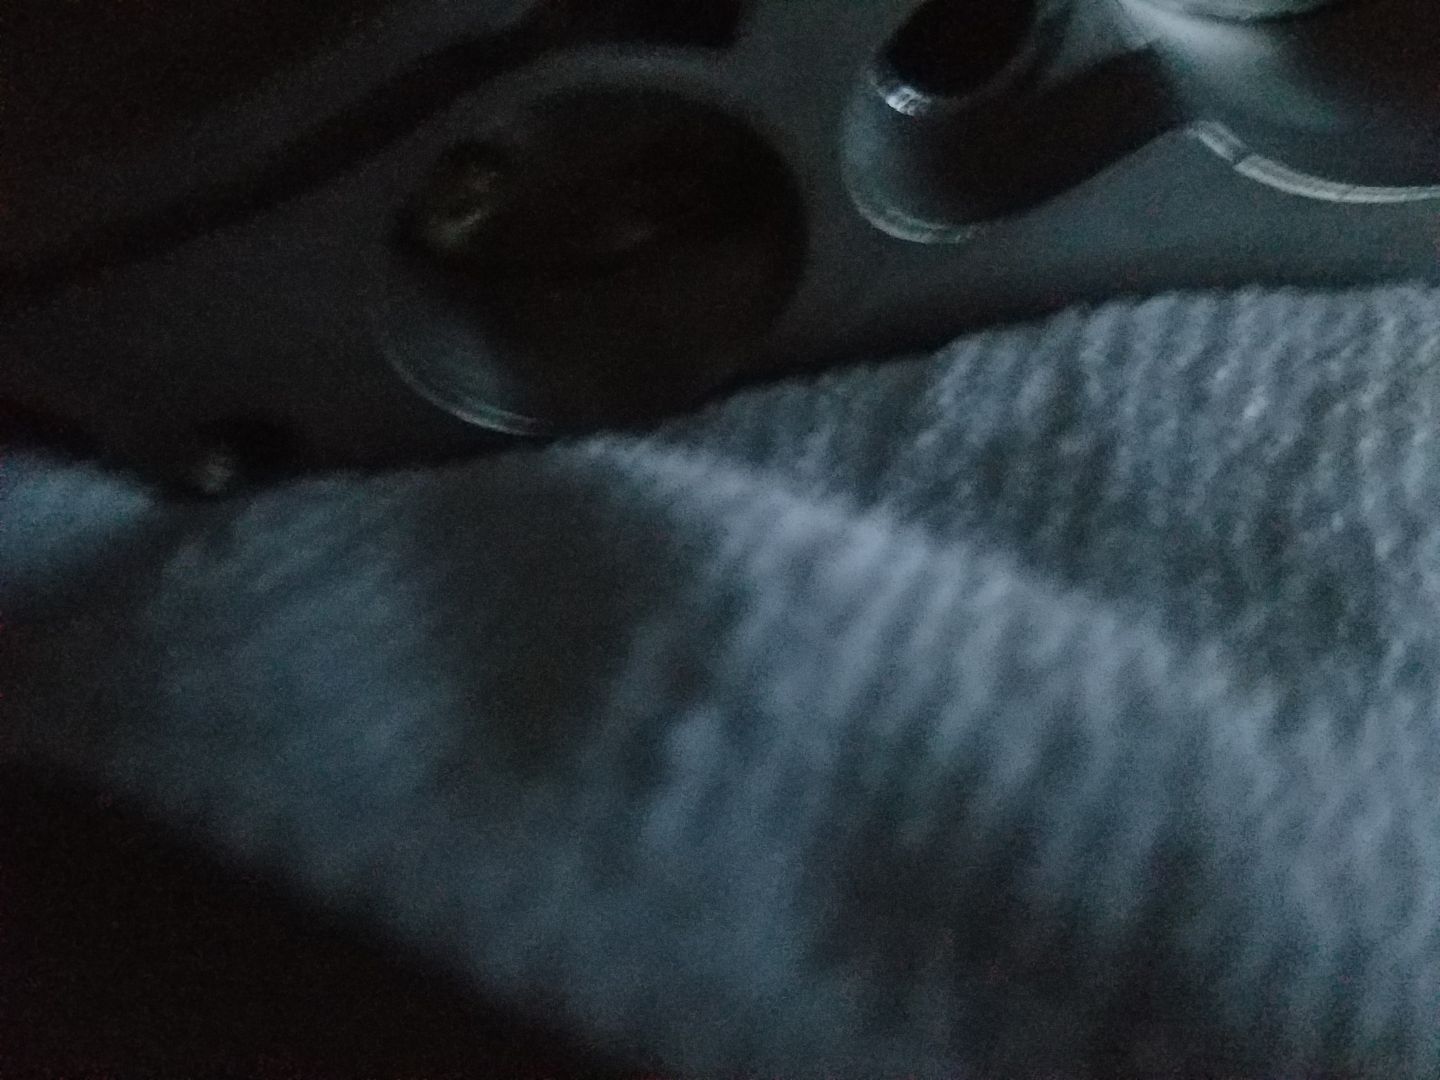 flashlight back on.... 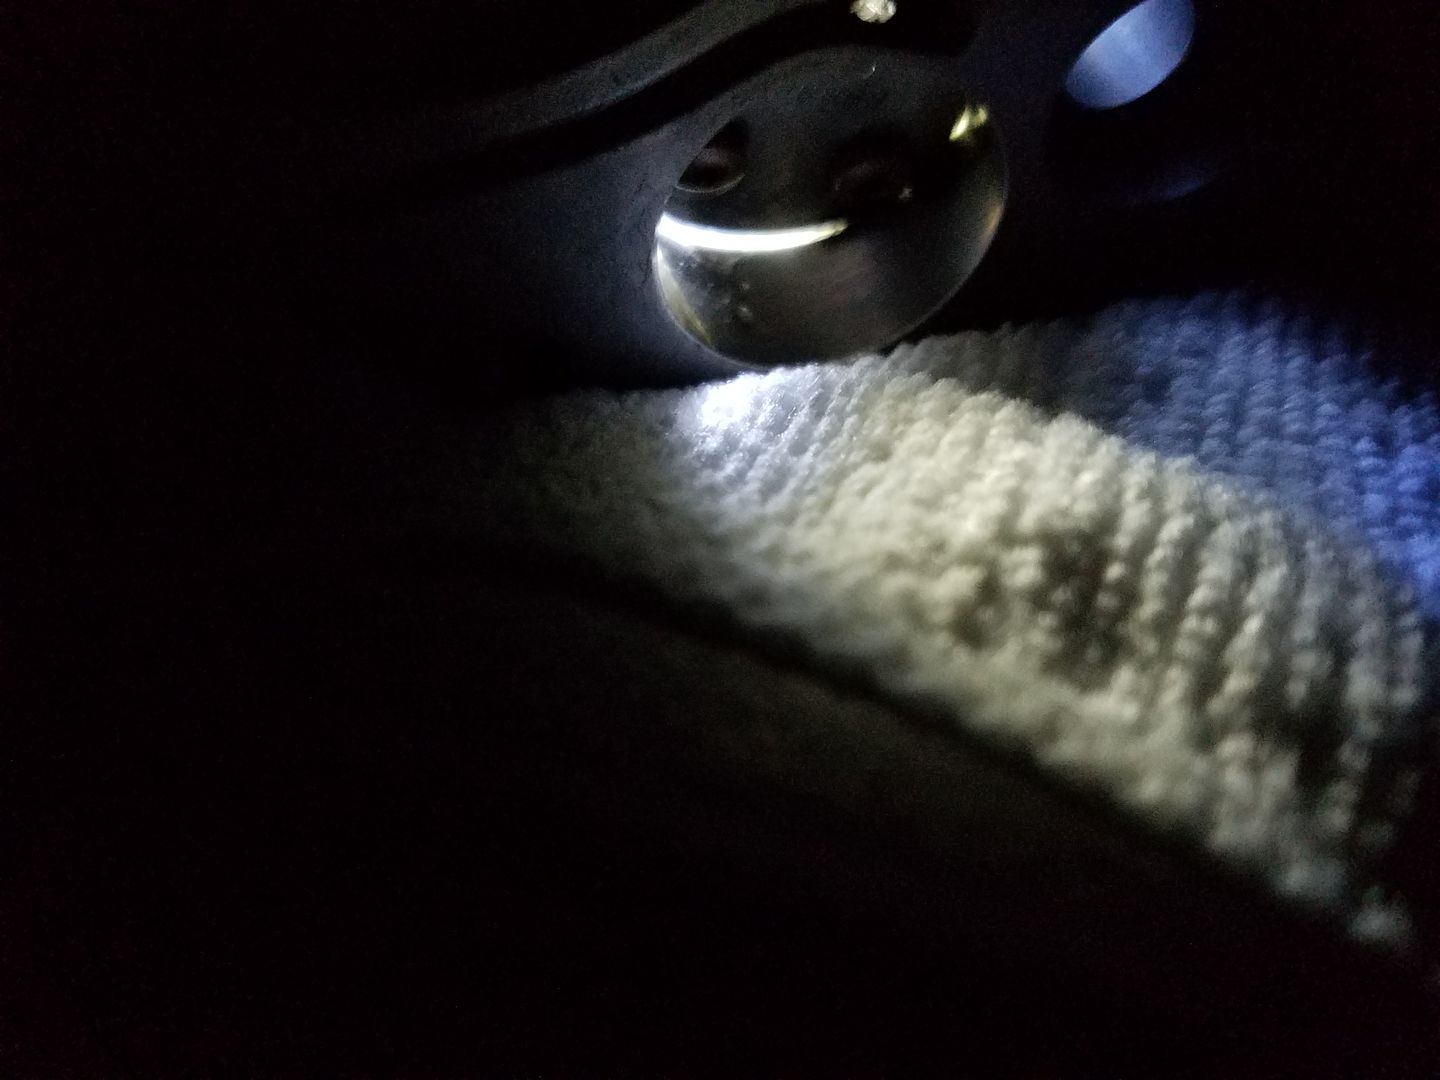 Now I have to decide and figure out the correct way to accomplish the task. I am not touching the secondary blades, except for a light clean up...hmmmm maybe not!!! Have to determine if both the min air adjustment procedure from Dominic and the application of the dry lube will correct the problem. Or just try to adjust the idle stop screw as it is in its present state, and also add the dry lube to help seal the perimeter of the primary blade. Also looks like I need to sand the TB as some of the finish has cracked off and the top is bubbled, so it needs a refinish. Just might attempt to do it all in the engine compartment and not remove the throttle cable at all. Quote:

__________________
Tom 1994 ZR-1 #009 "captured test fleet car" 1974 LS4 454 Vert 1974 L-82 355 Vert. 1982 L83 CFI...now a retired "dd"....Sold WAZOO Member |
||
|
|

|
|
|
#9 |
 Join Date: Apr 2007
Location: Northern VA
Posts: 2,658
|
Tom,
Thanks for sharing with the group. Here are a couple of photos of the difficult to adjust Allen set screw exchanged for a M5 x 0.8 25mm cap screw and full size nut. If you do this mod be sure to massage the contact end like shown in the bottom photo.  
__________________
Phil Wasinger 1994 Torch Red ZR-1 WAZOO Member George Braml Intake |
|
|

|
|
|
#10 |
|
Join Date: May 2007
Location: Chicagoland, IL
Posts: 9,702
|
Gap on the primary certainly looks greater than .002".
__________________
[SIGPIC][/SIGPIC]Former Membership Chairman Former ZR-1 Registry - BOD 1972 Corvette 4speed base Coupe SOLD long time ago 1984 Corvette Z-51/4+3 SOLD 1992 Corvette ZR-1 Aqua/Gray #474 SOLD 1992 Corvette ZR-1 Black Rose/Cognac #458 2014 Honda VFR Interceptor DX |
|
|

|
 |
|
|