
|
 07-19-2008
|
#1 |
 Join Date: Jan 2006
Location: Niceville
Posts: 997
|
The Coil Over Installation Process
Jim Milstead, DRM and JeffVette all contributed to the pre-process. The following links are where I started. Rears click the link then replace the *s with CF spelled out Fronts click the link then replace the *s with CF spelled out So, good start. I did not like some parts of it. In comes Carter. Here's where I departed and some lessons learned. Get the car on jacks as high as you can. Remove the old stuff per the service manual. You will need a puller to remove the tie rods and spindle in the front. *****TIP***** Remove the lower and upper A-arms completely. It will help remove the spring and then spread out the mount. I had all of the old stuff removed in about two hours. It took two months to get it back together. *****TIP***** Have all of the parts necessary prior to starting. Carter has a tremendous start on this--now. I did not want to cut into my front frame area. Carter made these mounting devices and I replaced the stock sway bar mounting brackets with Energy Suspension brackets (see picture) from Autozone for a 1inch sway bar. 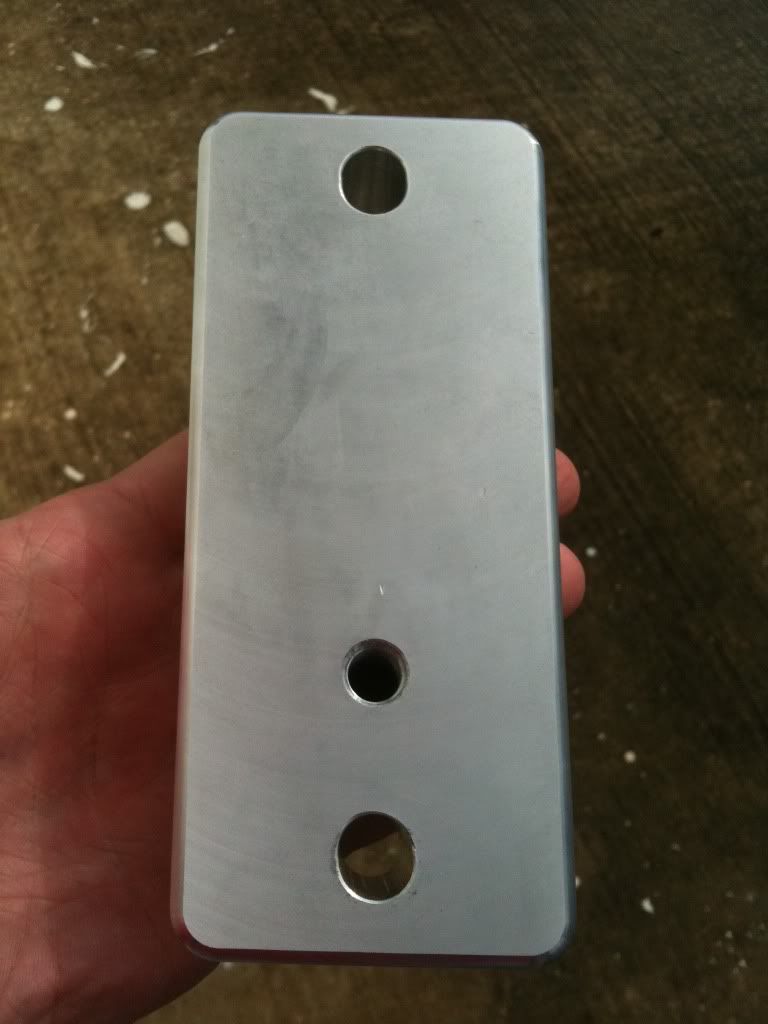 The stock bolts will not do to mount into the frame. You need bolts long enough to go through the block into the frame. Size is 10mm x 1.5 pitch. Two long for the outsides and one smaller for the inside (threaded). You can see how I did it here:  *****TIP***** Fronts are fairly straight forward. Now for the fun--Rears. You will need to mill the head and reverse the suspension mounting bolts per Milstead's thread above. Get a pry bar. I did not like the weld then drill method for the old mounts--did have the resources. Carter made some great mounting brackets but they require shaving the upper urethane bushing. I figured it only mounts the gear and the bracket and bushing insert take up the slack. *****TIP****** Get a dremel with a quick attachment cutting wheel. After I figured this out I was done in an hour. Use it to open the rear frame area. I did not have the necessary tools or experience to accomplish Milstead's write up opening. It also would have required removing most/all of the rear suspension. I used a grinding bit on an air compressor small grider to round the corners. Here's what I did: Old 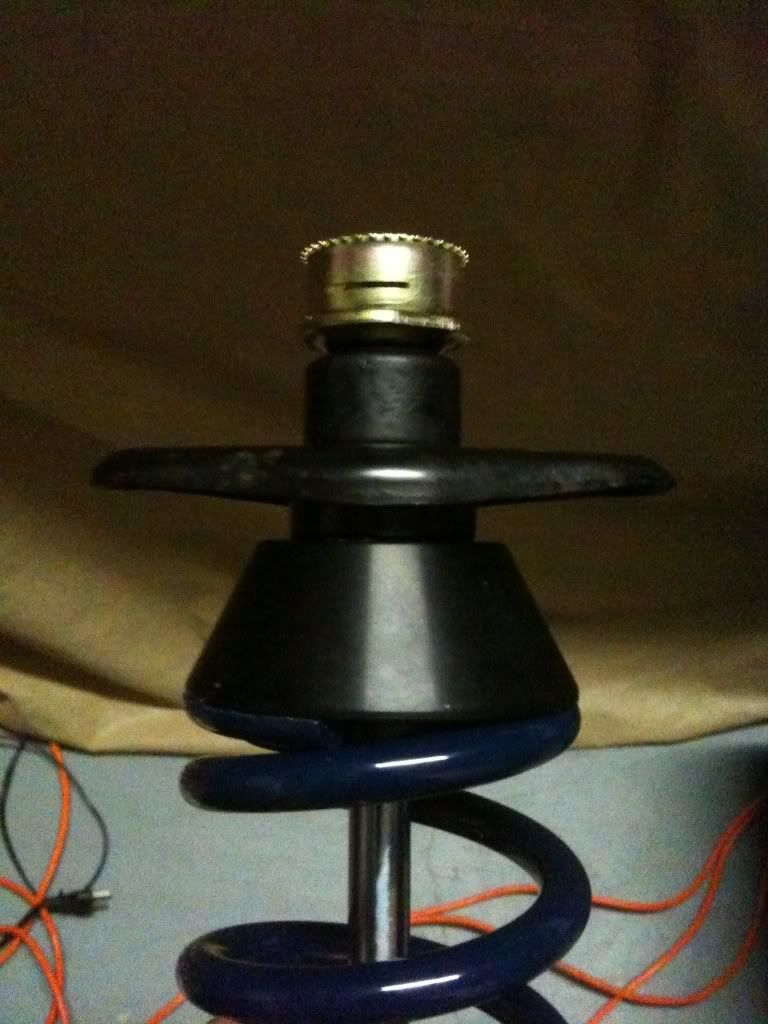 New 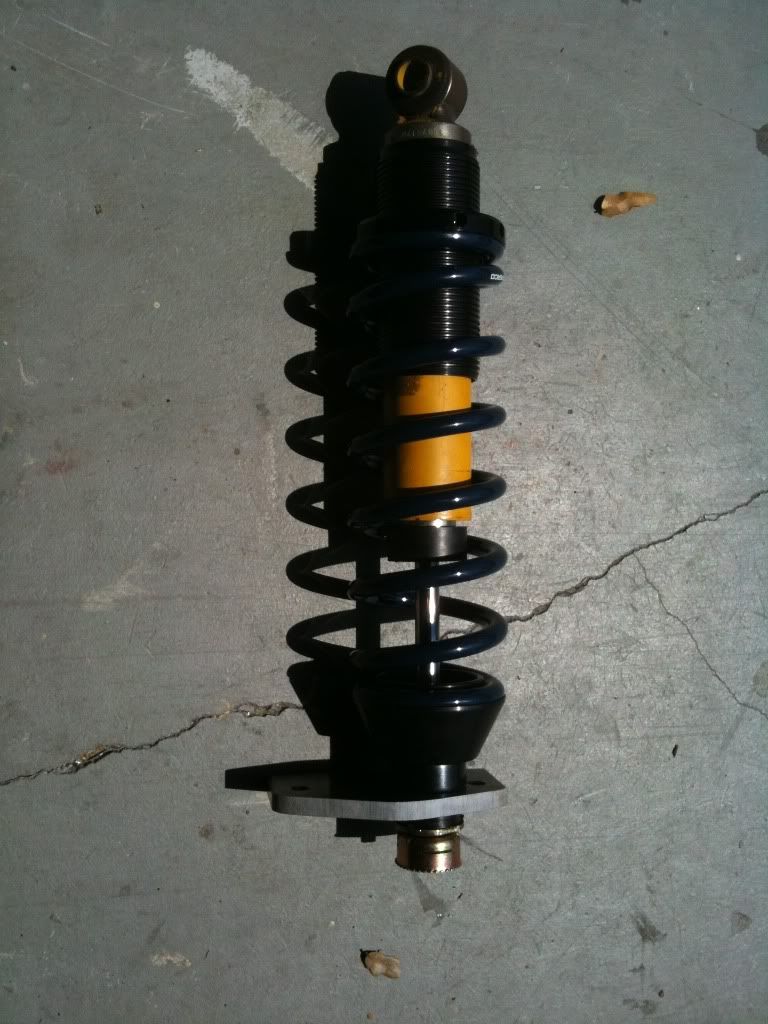 Carter's Bracket 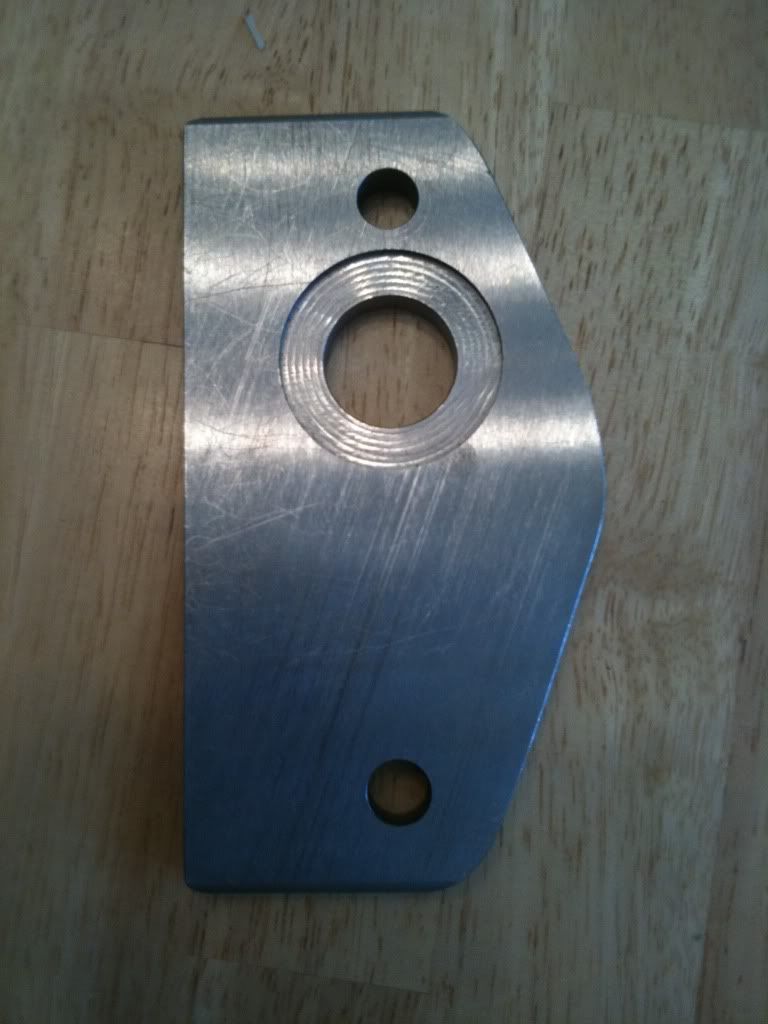 Mounted on frame: 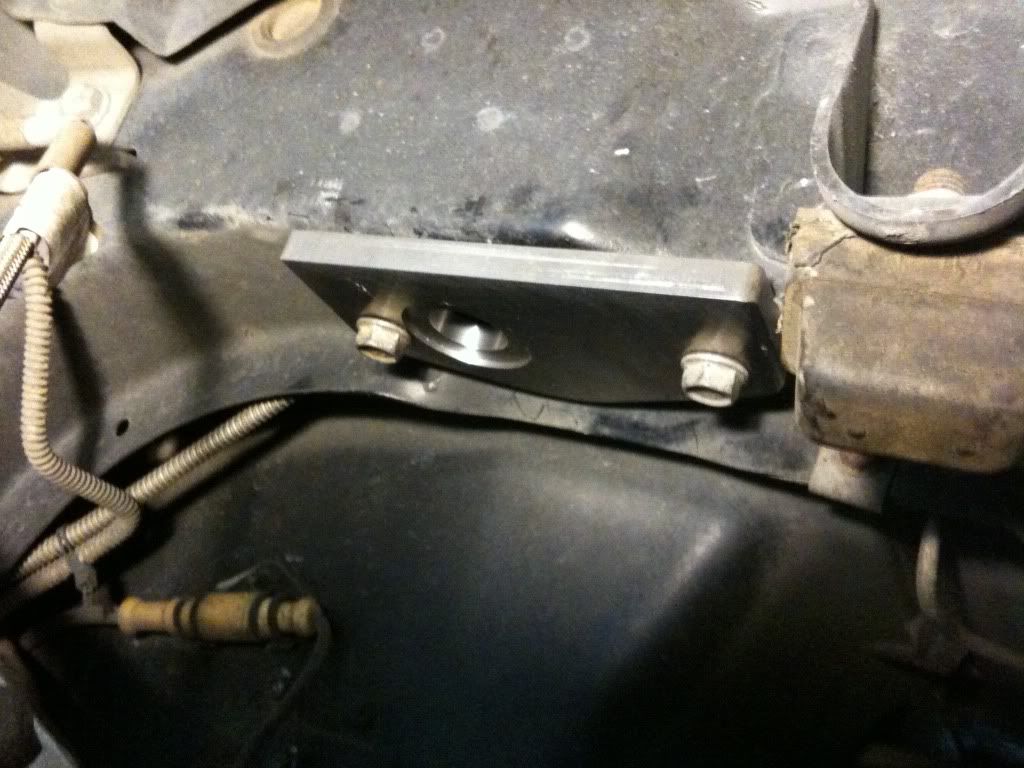 D@mn site--can't put up more than 8 images. This will get sporty. Go to end to see more. Ted Last edited by Demps; 07-06-2010 at 09:45 PM. Reason: Instructions |

|

|
|
|


 Threaded Mode