|
|
#141 |
 Join Date: Mar 2014
Location: Warrington PA
Posts: 1,913
|
Found a decent tap and die set at Lowes, which had the needed 1/8" x 27 NPT tap. Paid more for the set, but at least I was getting more pieces as opposed to just buying two items. And has been mentioned about watching out for the cheap sets and reading the reviews, this turned out to be a better investment.
95% of the TB coolant block is completed. All that is needed now is to add the Red Loctite to the plug threads and be done with it... the tap and die set... 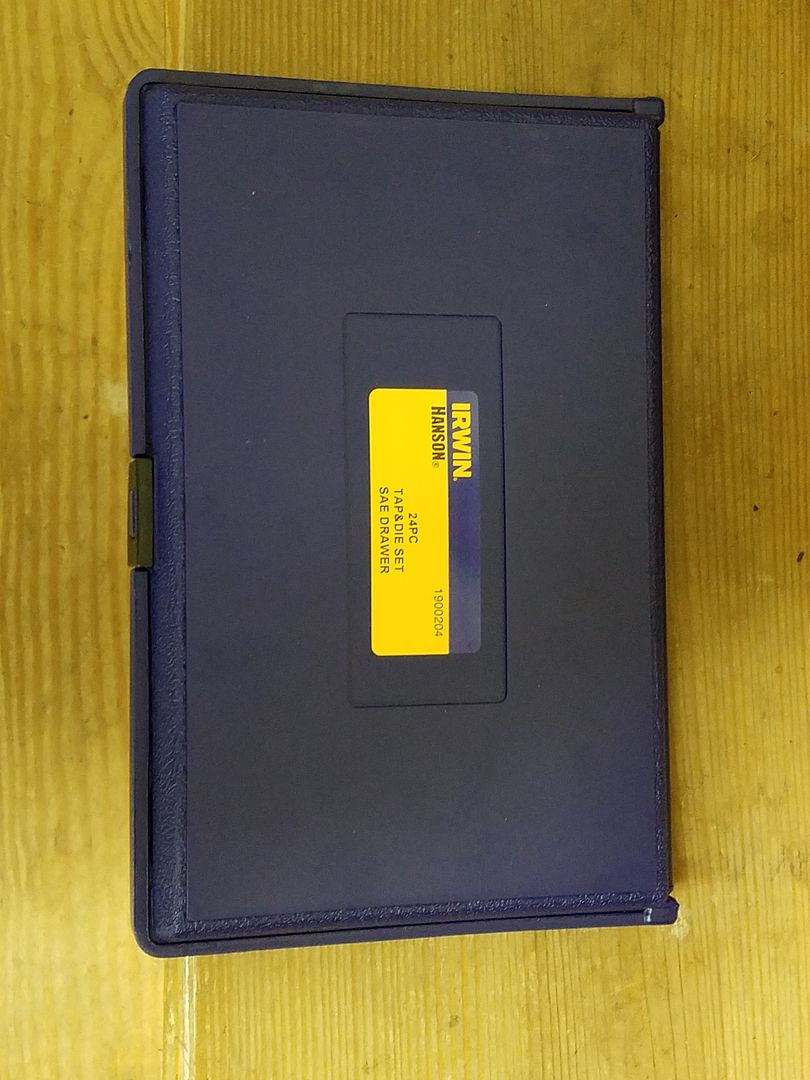 setup and ready to go... 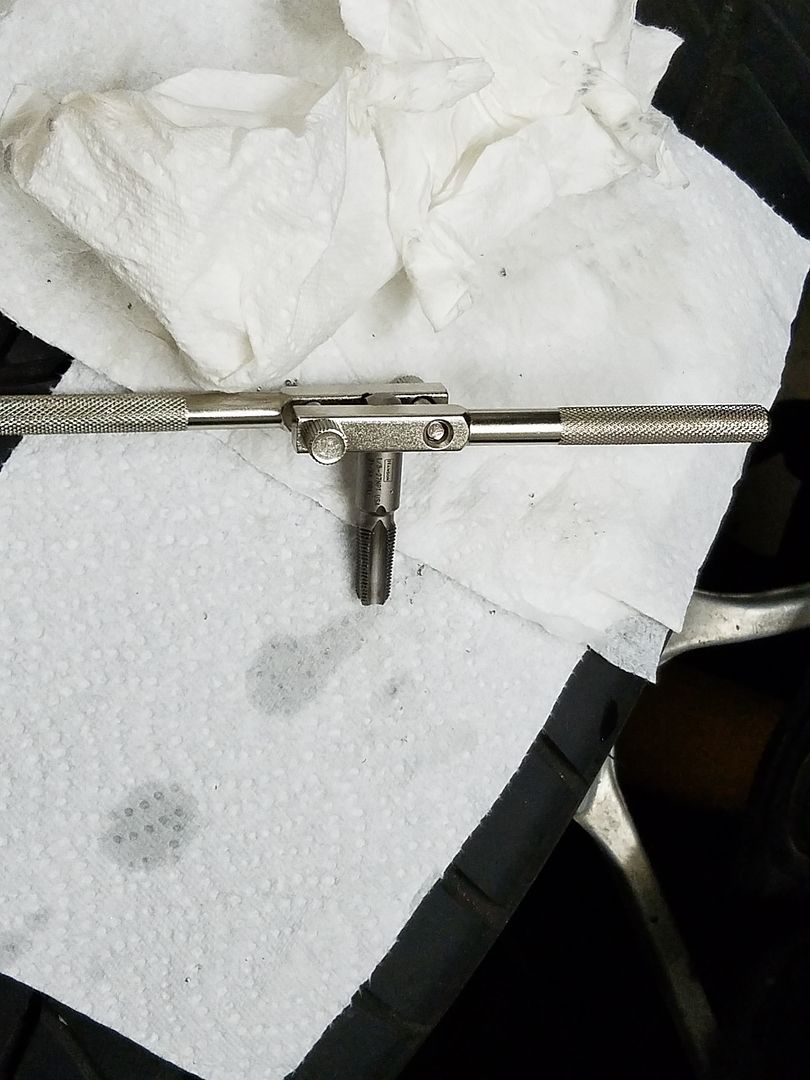 this is a USA made set... 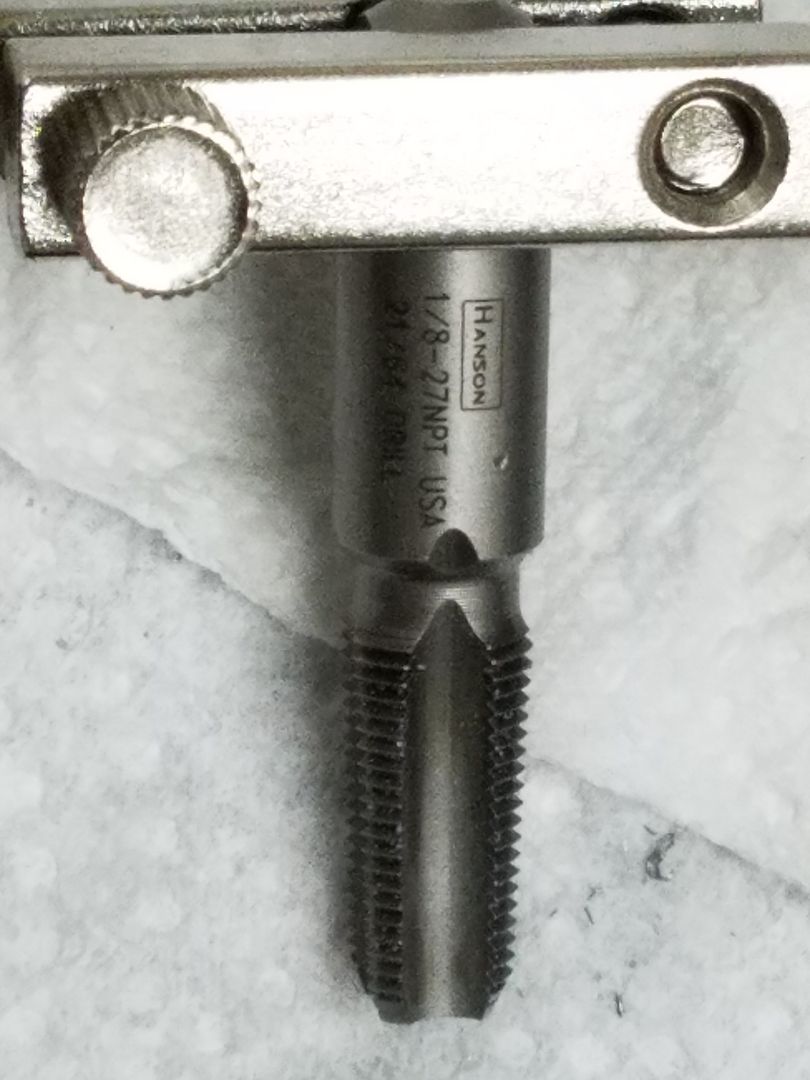 LS done... 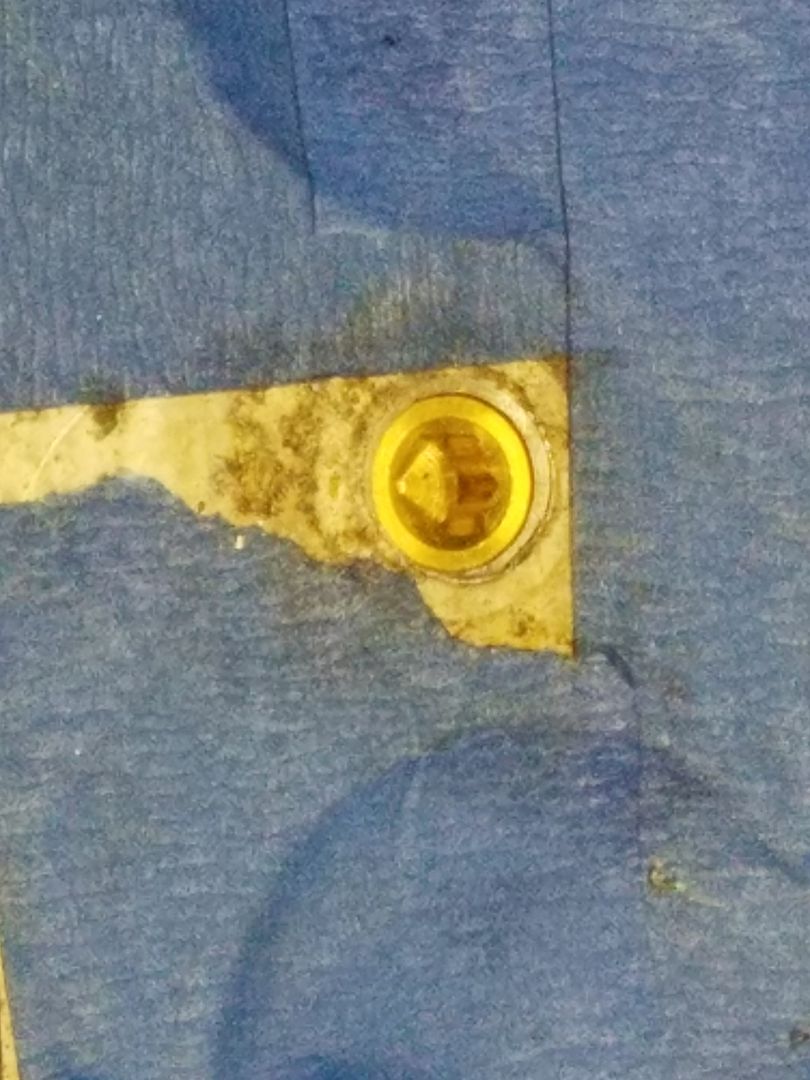 RS getting cleaned... 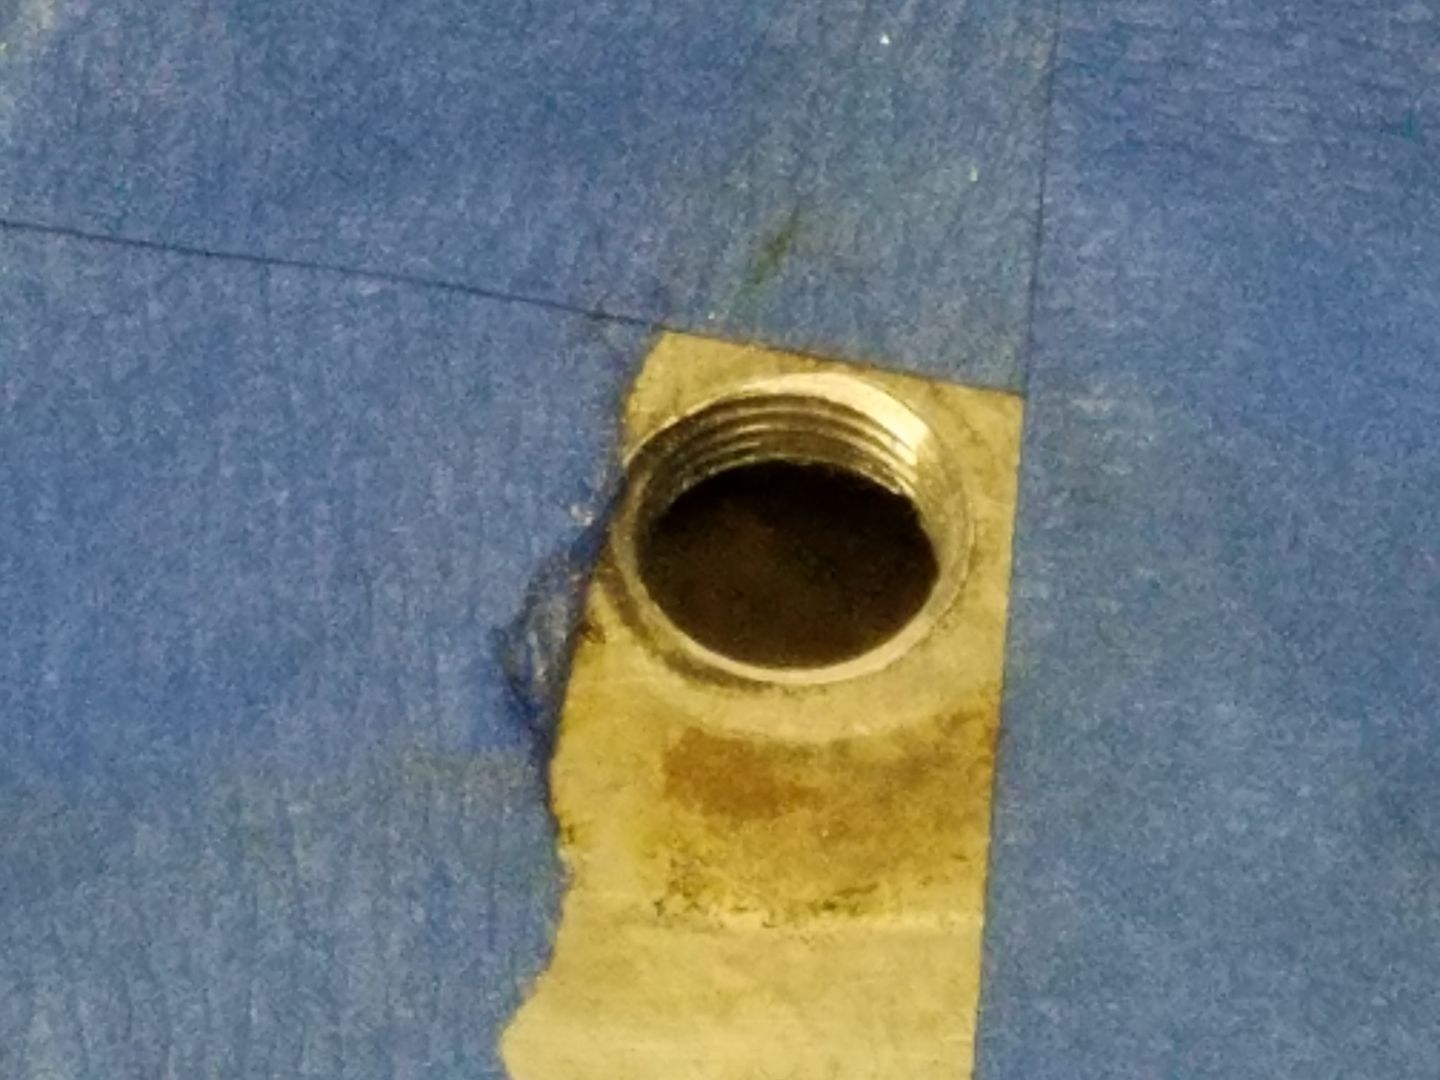 RS is slightly inserted on an angle. thought I had the tap perfectly straight like on the LS, but it is a little off. should not be a problem once the Red Loctite is applied... 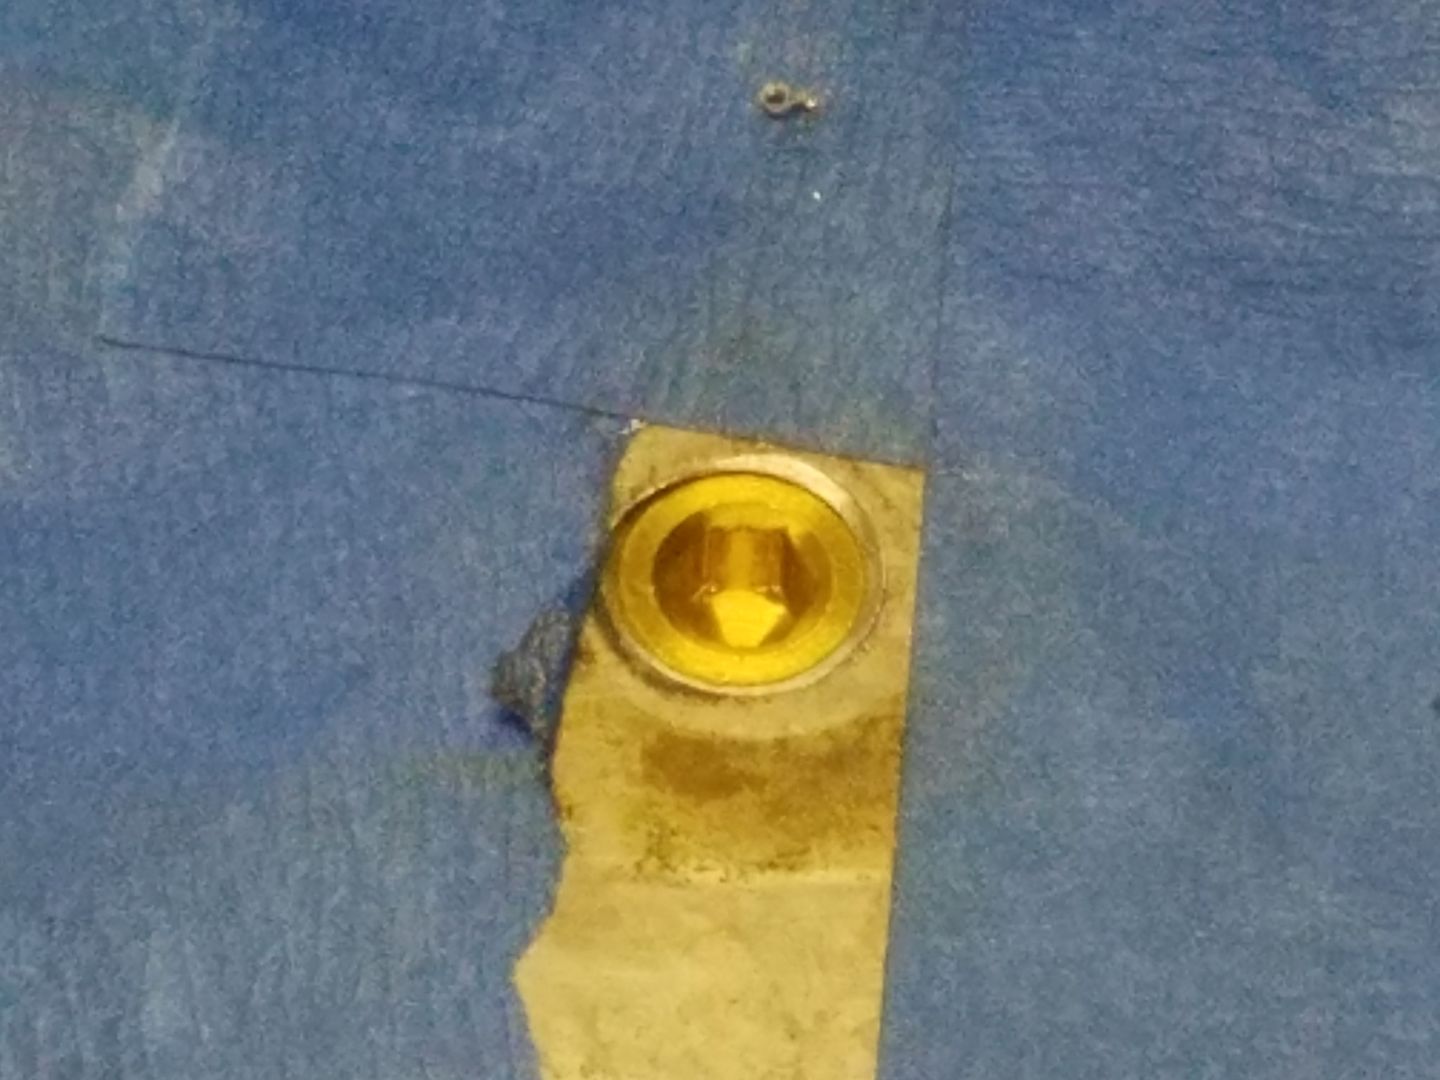
__________________
Tom 1994 ZR-1 #009 "captured test fleet car" 1974 LS4 454 Vert 1982 L83 CFI...now a retired "dd"....Sold WAZOO Member |
|
|

|
|
|
#142 |
 Join Date: Feb 2012
Location: Ledyard,CT
Posts: 8,011
|
Looks good!
|
|
|

|
|
|
#143 |
 Join Date: Mar 2014
Location: Warrington PA
Posts: 1,913
|
Thank you sir....
 Just finished up on the TB coolant plugs. Had some other errands to run earlier, all that is done and so are the plugs. Now I am not saying or suggesting some of the methods that I used are the correct methods to do, I don't think that I followed Cliff's guidelines as written to the letter, but here it goes.... I ran the tap all the way through the coolant hole, almost to the end of the tap. This way I can tighten down the plug and be below the IH surface without having to file down anything to get the correct height or depth needed. I also used Loctite #243 Threadlocker, which is the Blue, as opposed to the Red. My reasoning is from my understanding is that the Blue, which is medium strength will do a sufficient job keeping the plug in place even with engine vibration. It will also allow you to remove the plug in the future without using heat, as again from my understanding you would need to use with the Red Loctite. Now since I ran the tap all the way through, there are a number of threads showing below the surface in the coolant pipe area, which doesn't present any problems. FYI, a 3/16" Allen wrench fits the 1/8" NPT plug. LS threads below the IH surface...there seems to be only about 3 actual threads inside the coolant hole, as the material in that area of the IH is not that thick... 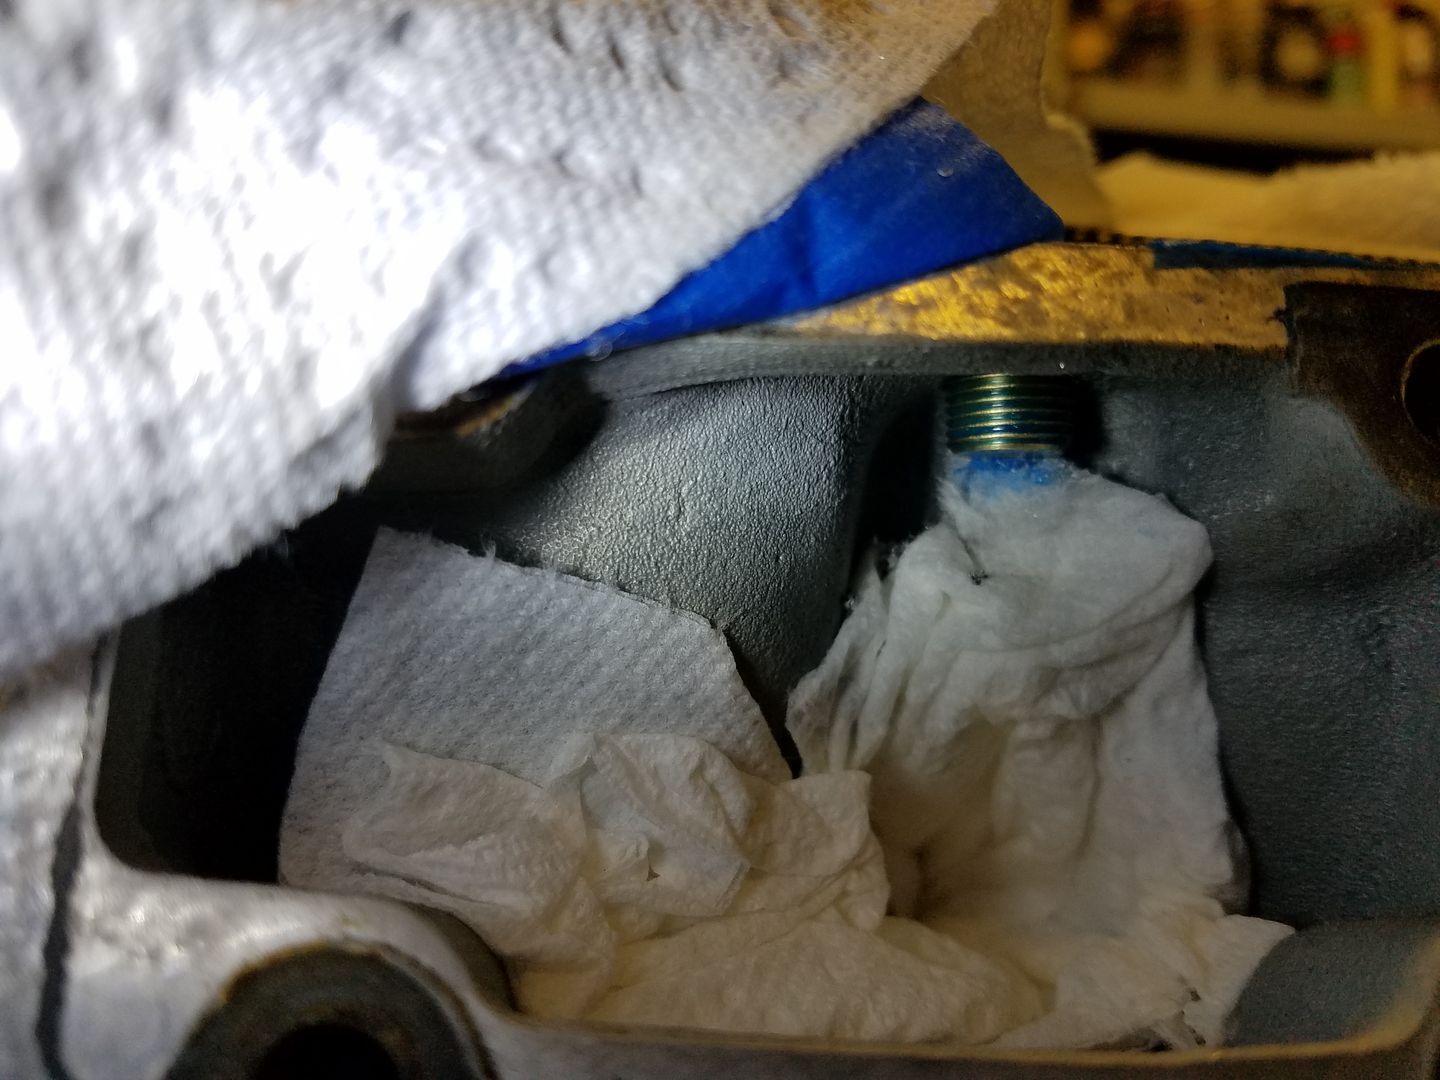 LS Loctite in... 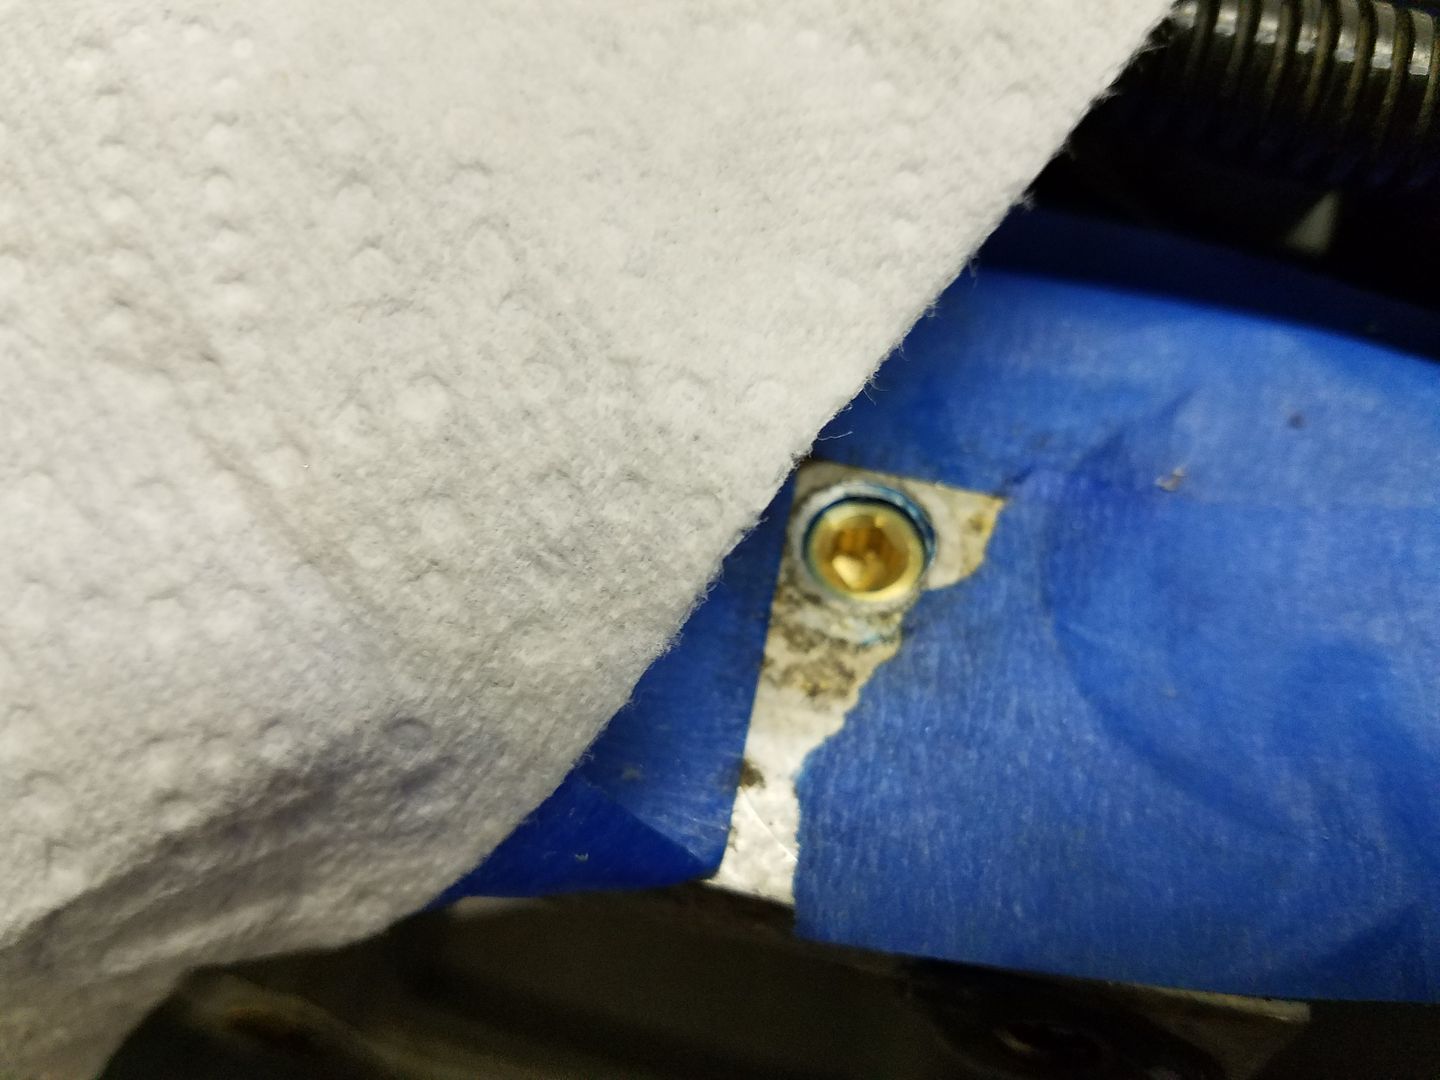 RS threads below the IH surface... 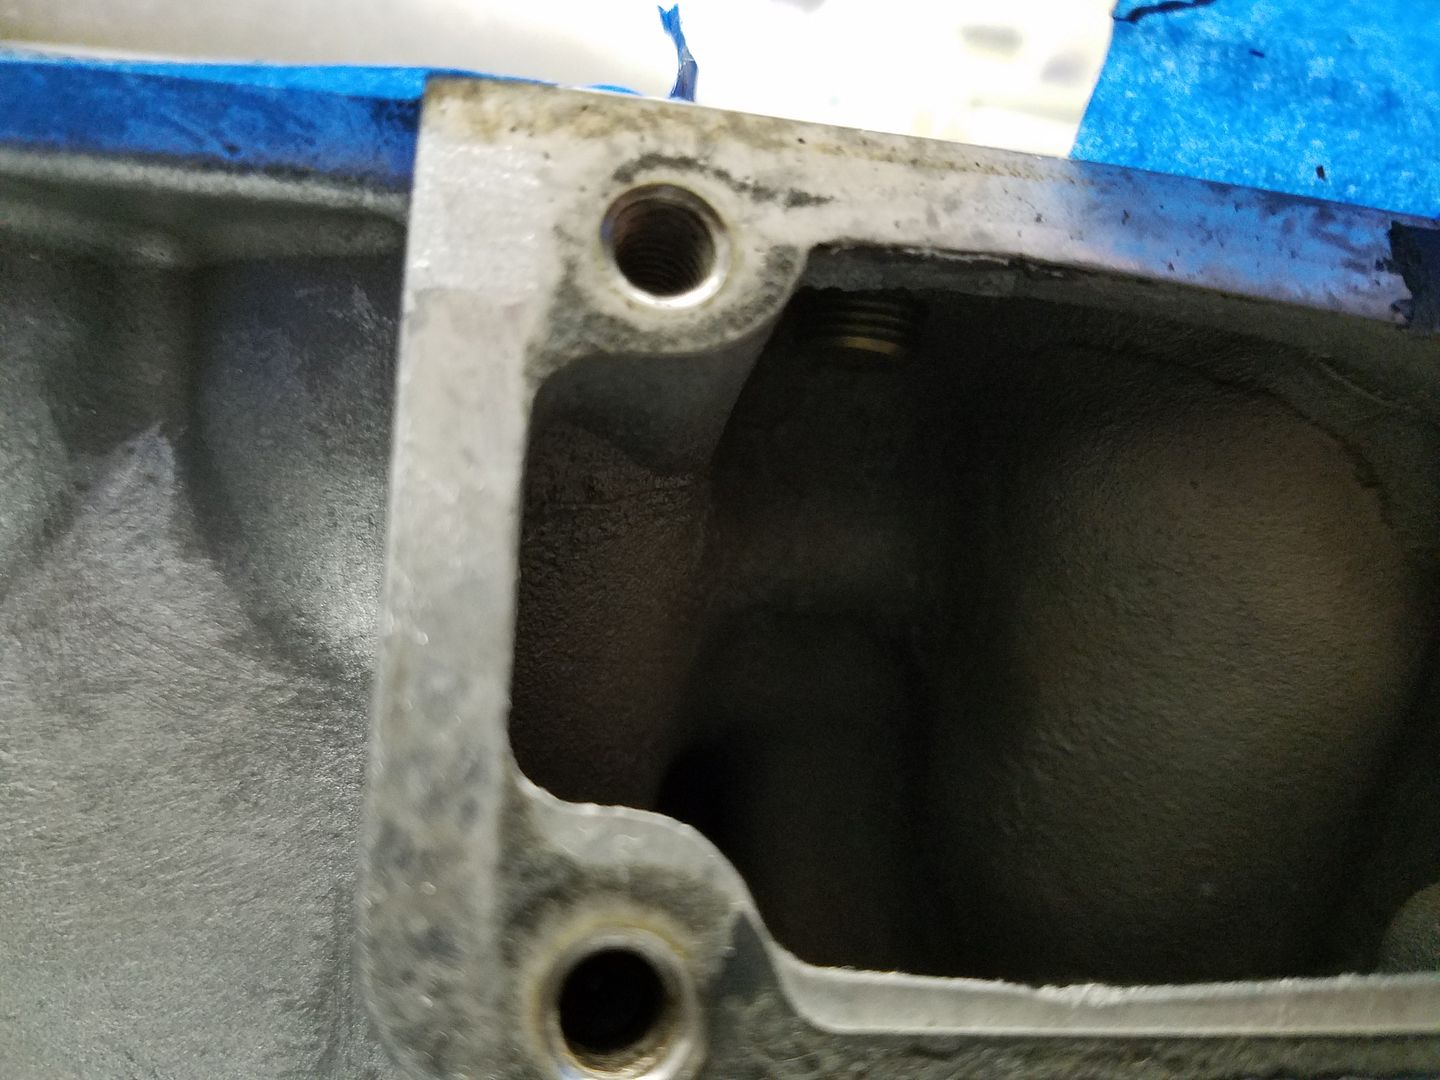 RS Loctite in and is just slightly angled as mentioned earlier. had one slight burr on the top, which was easily corrected. I don't think they will come loose or have any coolant getting up through the plugs.....lol 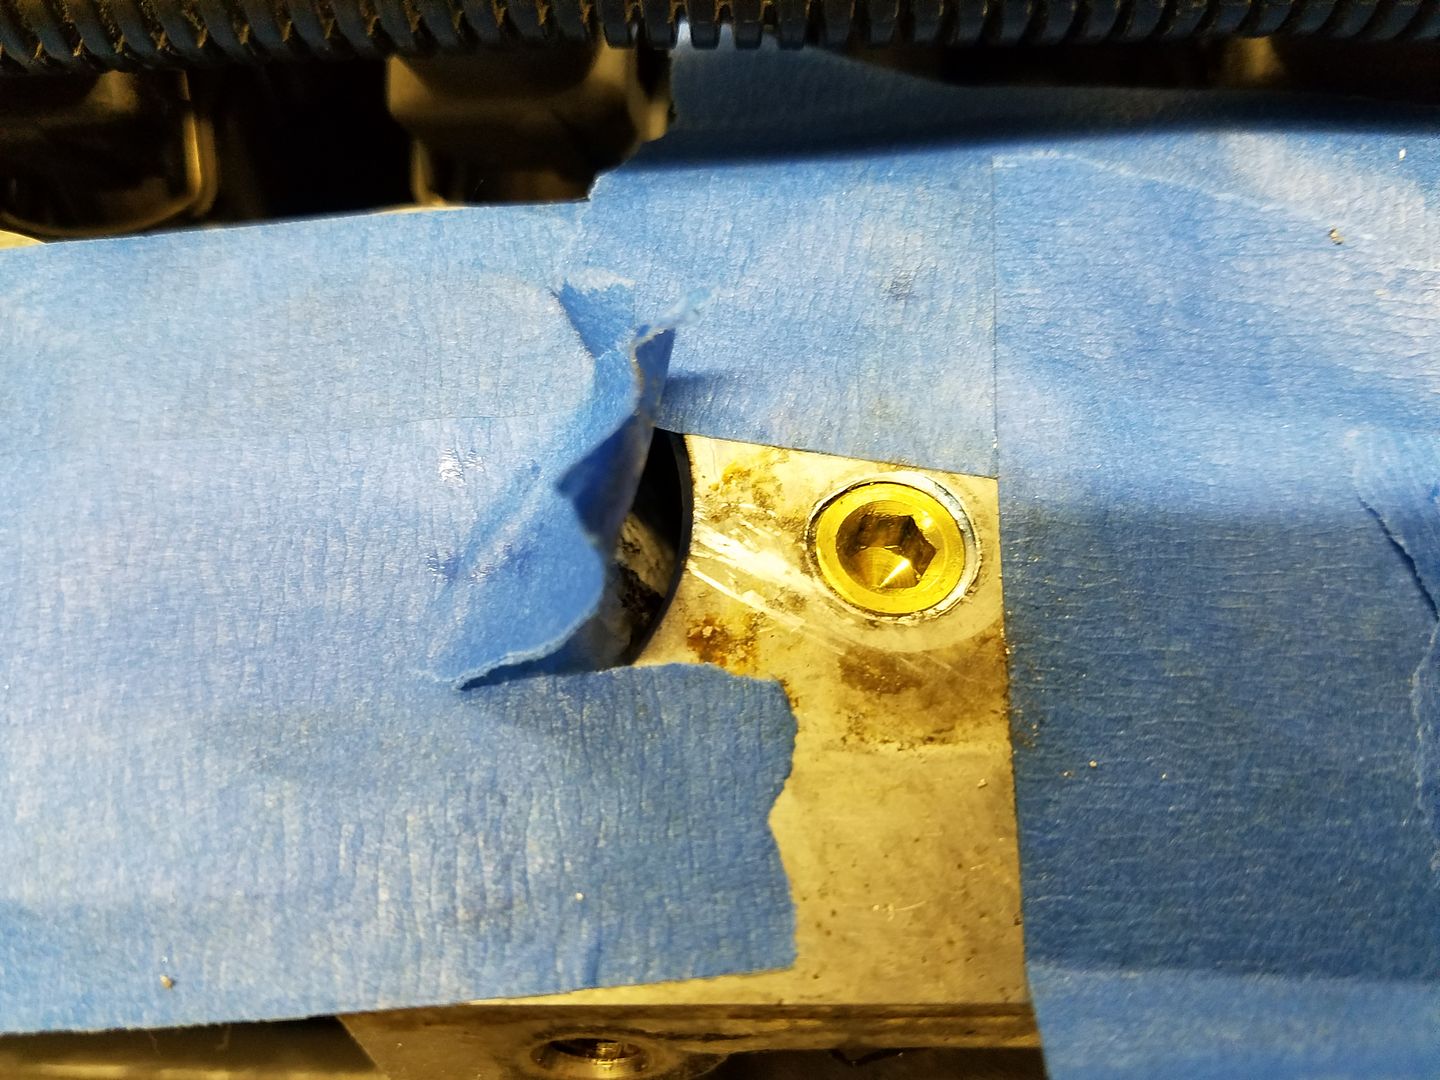
__________________
Tom 1994 ZR-1 #009 "captured test fleet car" 1974 LS4 454 Vert 1982 L83 CFI...now a retired "dd"....Sold WAZOO Member Last edited by Roadster; 06-01-2017 at 05:23 PM. |
|
|

|
|
|
#144 |
 Join Date: Mar 2014
Location: Warrington PA
Posts: 1,913
|
Well not the best day today, as I have committed major screw-ups on the plenum.....decided to try one side taping off the surrounding area and then do the other side with the artist brush for the numbers and letters...
Started off ok, but I ended up with a big mess. Corrected that one to an extent, but created an even bigger mess from the prior one..... Oh well, no biggie, if I can't fix this one, I will just sand down the entire plenum and start all over again. Its not like I don't have the time, but I just hate when I screw-up.... started off ok, had everything taped... 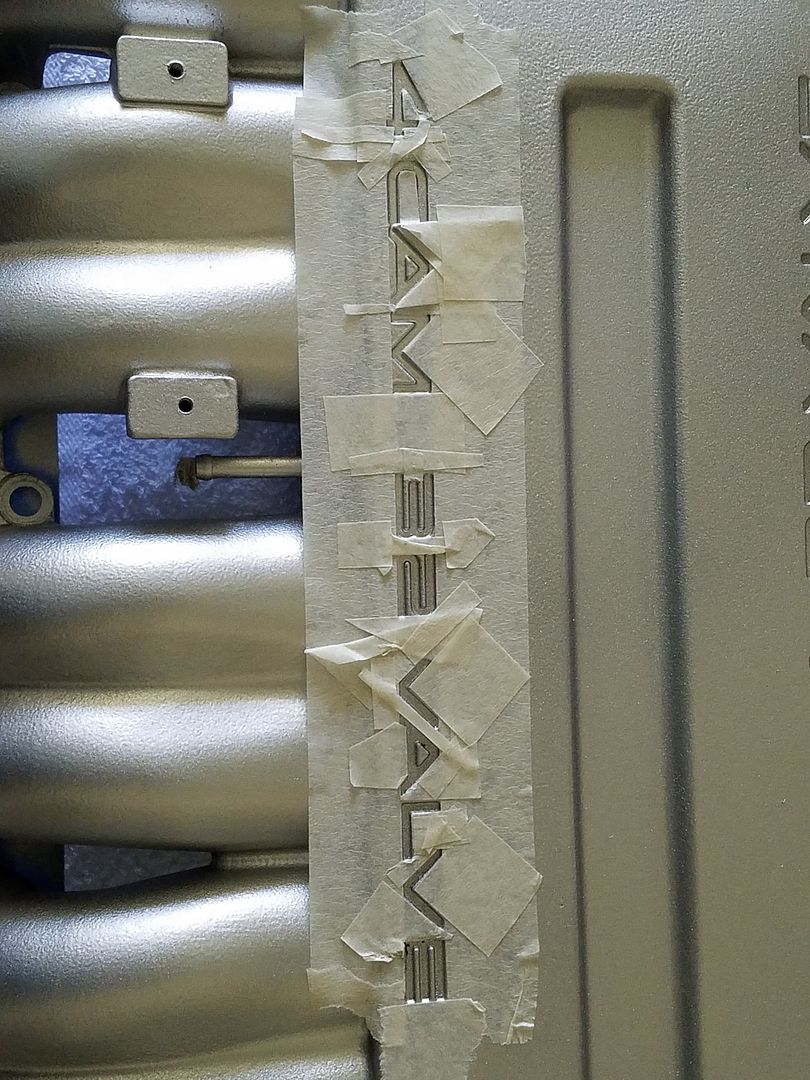 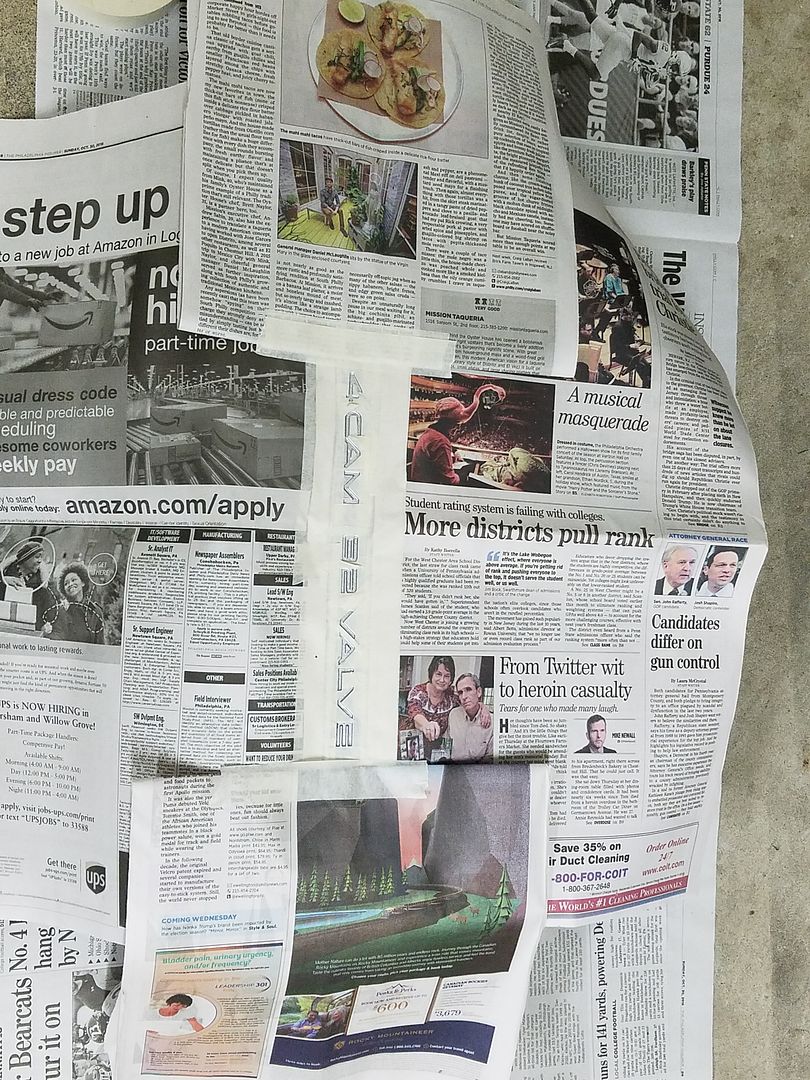 was going good.... 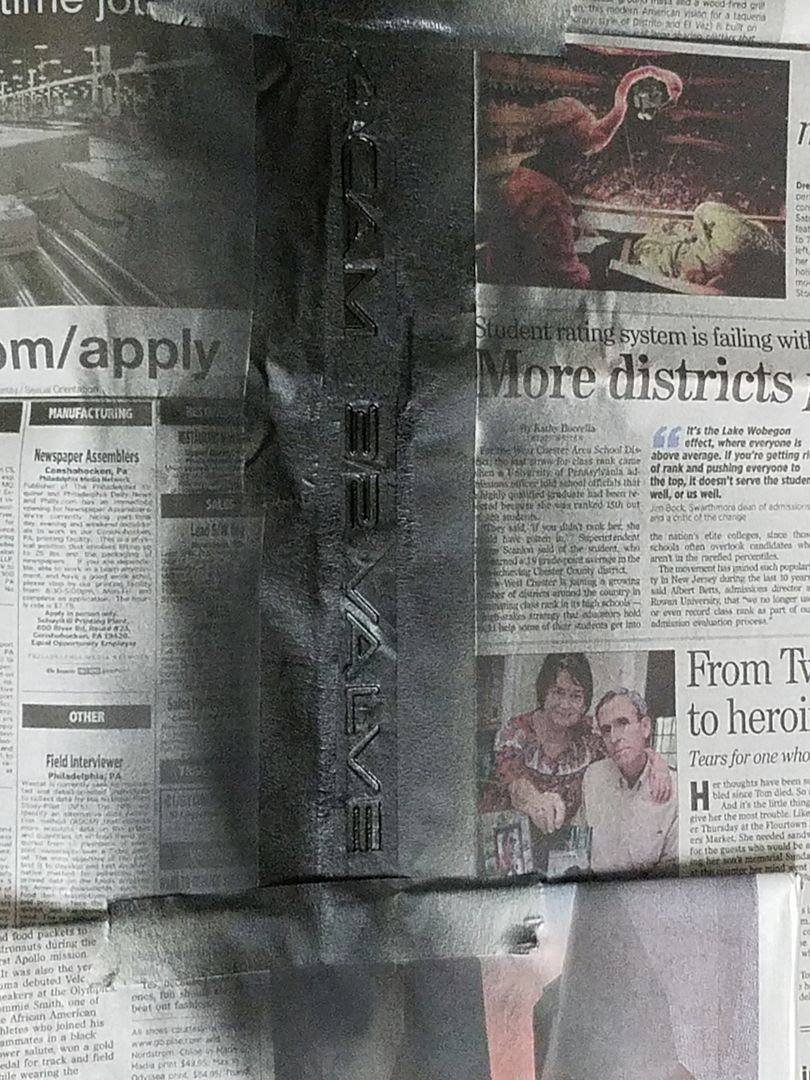 but an imperfection here... 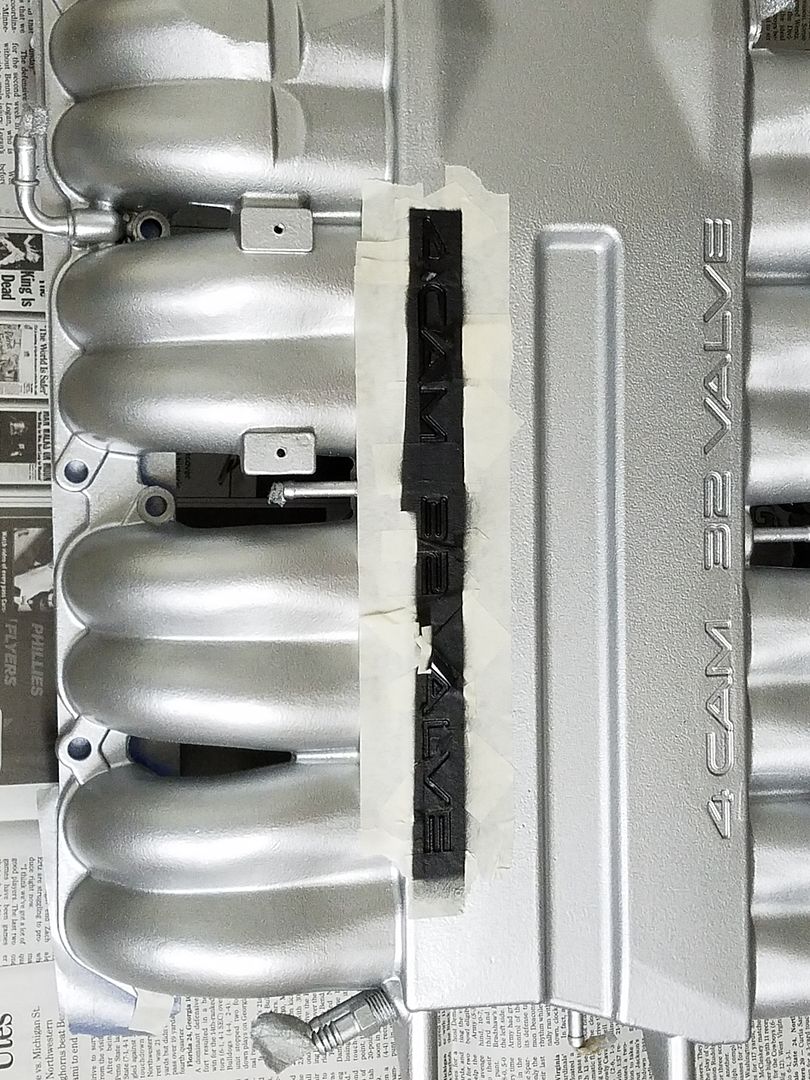 turned into a bigger mess here..... 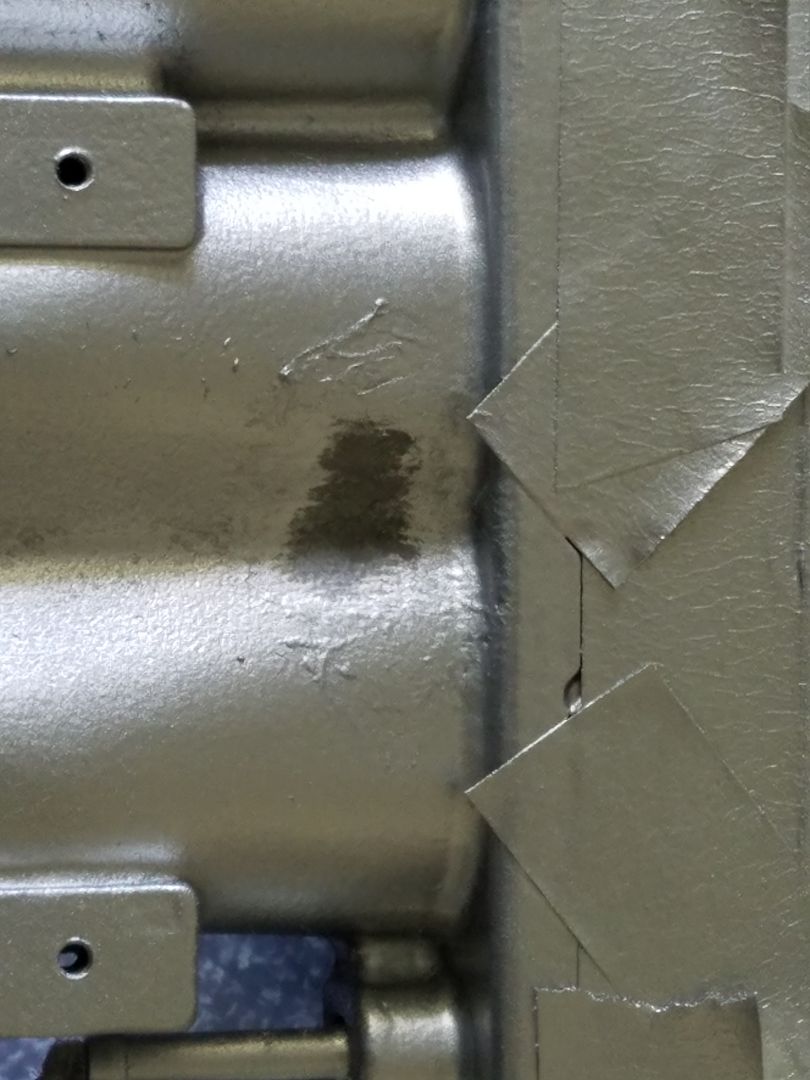 I think it's time for some lunch and a moment to reflect and move on....
__________________
Tom 1994 ZR-1 #009 "captured test fleet car" 1974 LS4 454 Vert 1982 L83 CFI...now a retired "dd"....Sold WAZOO Member Last edited by Roadster; 06-02-2017 at 01:03 PM. |
|
|

|
|
|
#145 |
 Join Date: Nov 2016
Location: Norway
Posts: 397
|
Would it be possible to apply vinyl wrapping to the plenum around the letters, and just cut them out with a hobby knife/scalpel?
__________________
- '90 ZR-1 |
|
|

|
|
|
#146 |
 Join Date: Mar 2014
Location: Warrington PA
Posts: 1,913
|
Im sure that would be possible, but need to correct the plenum first...I will try the artist brush next.....
Sent from my SM-G935P using ZR-1 Net Registry mobile app
__________________
Tom 1994 ZR-1 #009 "captured test fleet car" 1974 LS4 454 Vert 1982 L83 CFI...now a retired "dd"....Sold WAZOO Member |
|
|

|
|
|
#147 |
 Join Date: Mar 2014
Location: Warrington PA
Posts: 1,913
|
You know what they say....if a first you don't succeed!!!!
Had my work cut out for me on the plenum. As others have mentioned that the plenum surface is rough, and it is that.... So I am thinking if I just sand that one part down and re spray trying to blend in the area, it may look smoother than the rest of the plenum. So I decide to sand the whole plenum. Using 400 grit as suggested and mixing in with the 320 grit I had, took me a few hours to get it nice and smooth. Although all of the previous new paint did not get sanded away, as you will see in the pics. I am surmising that the rough area's were the high spots on the plenum or at least most of them. I did get a uniformed smoothness over the entire unit which was very acceptable. I was going to wait until tomorrow to paint, but that did not happen. Went into the open paint booth just awhile ago and ended up shooting about 4 total coats. I stayed with my previous methods and did not do a heavy color coat. I did not get over anxious either between coats, left enough drying time, as I did not want to produce any runs, etc. I think it came out even better than before and that maybe because of the now smoother finish. I may or may not paint the numbers and the letters as I don't want to mess it up again....lol sanding in process... 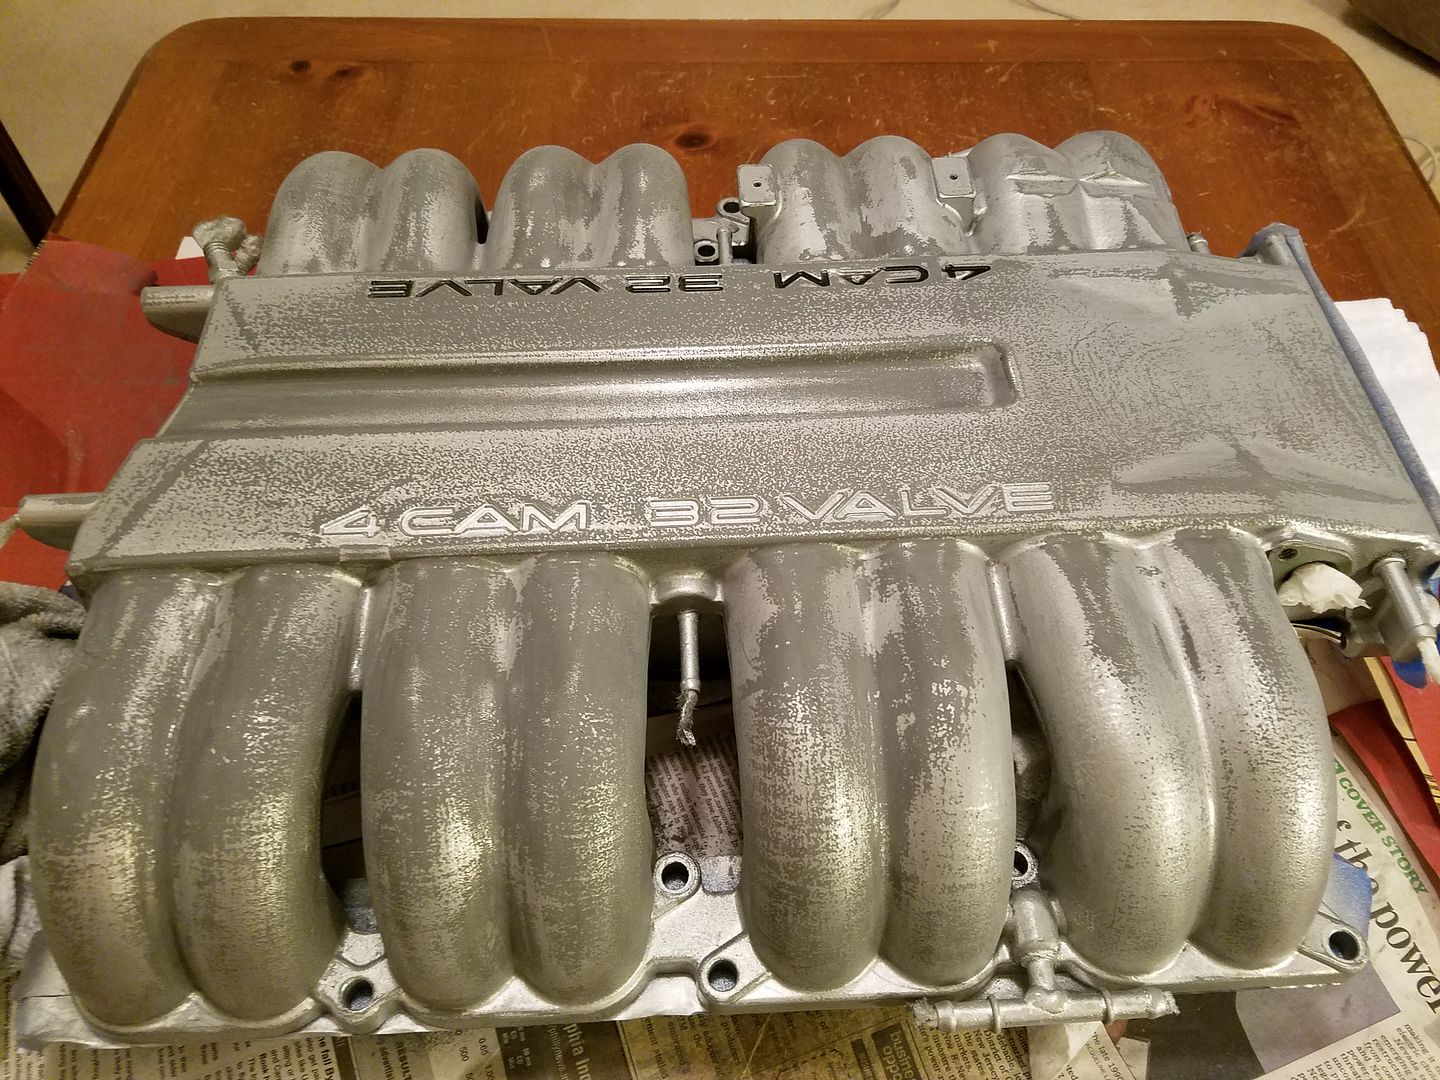 smooth surface as can be... 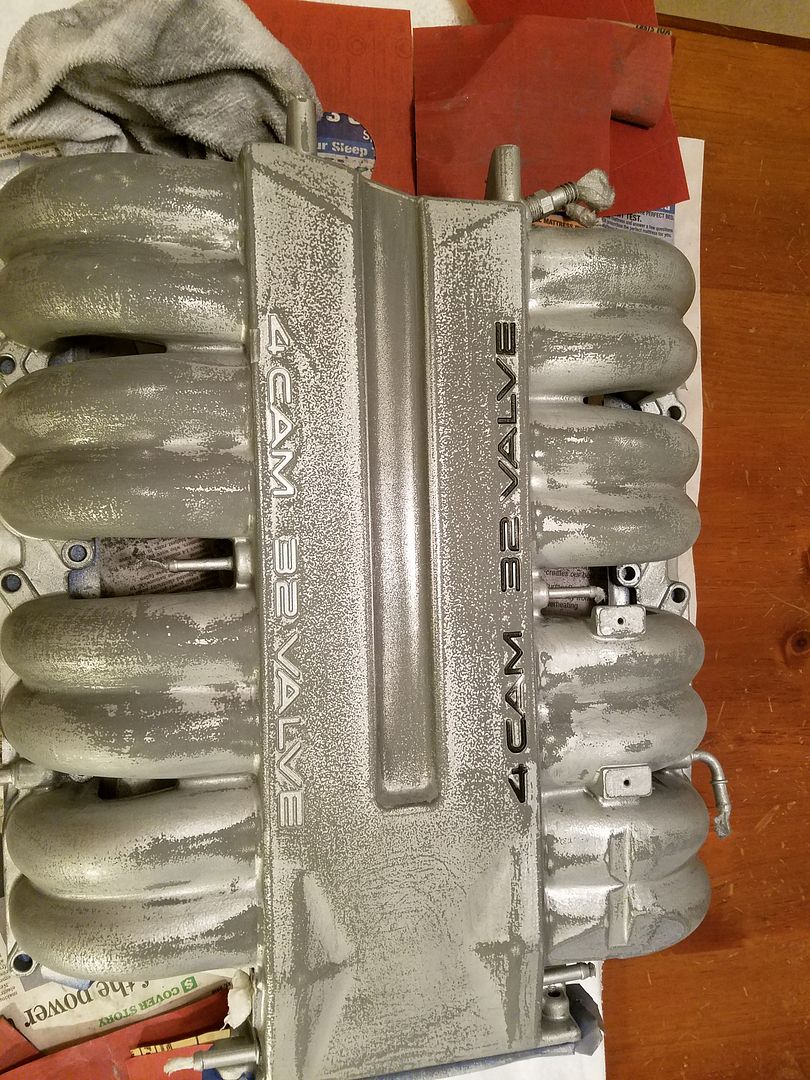 in the open paint booth... 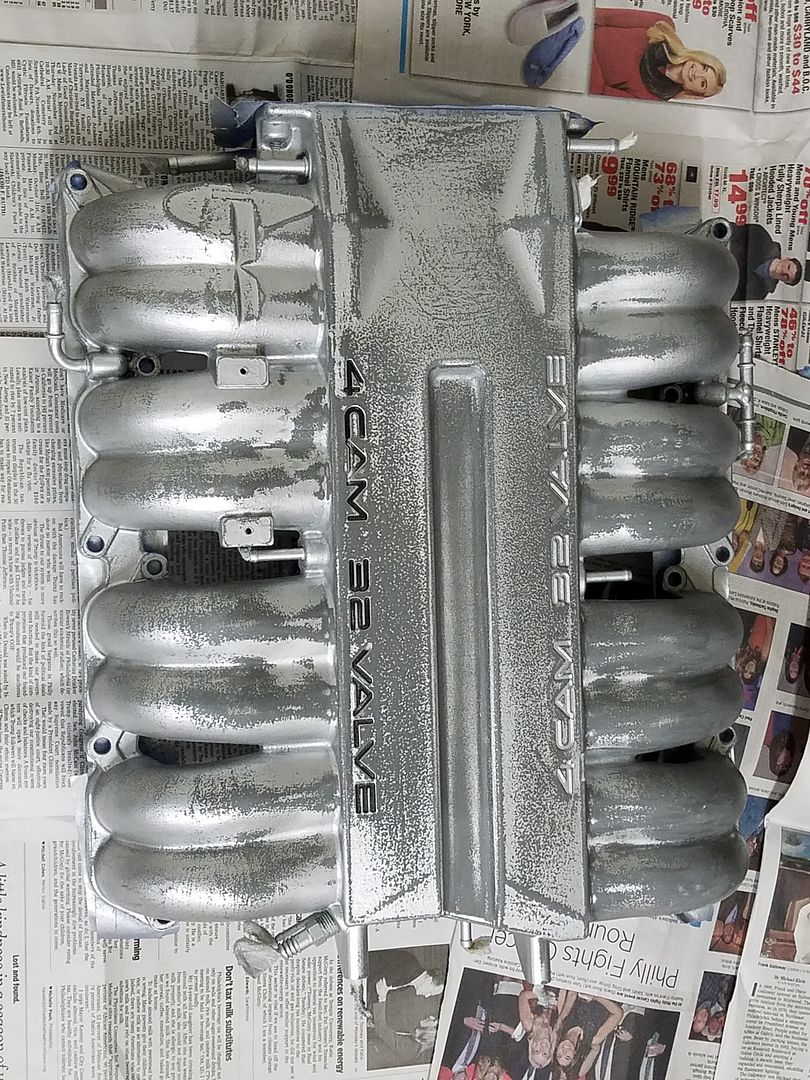
__________________
Tom 1994 ZR-1 #009 "captured test fleet car" 1974 LS4 454 Vert 1982 L83 CFI...now a retired "dd"....Sold WAZOO Member |
|
|

|
|
|
#148 |
 Join Date: Mar 2014
Location: Warrington PA
Posts: 1,913
|
first coat...
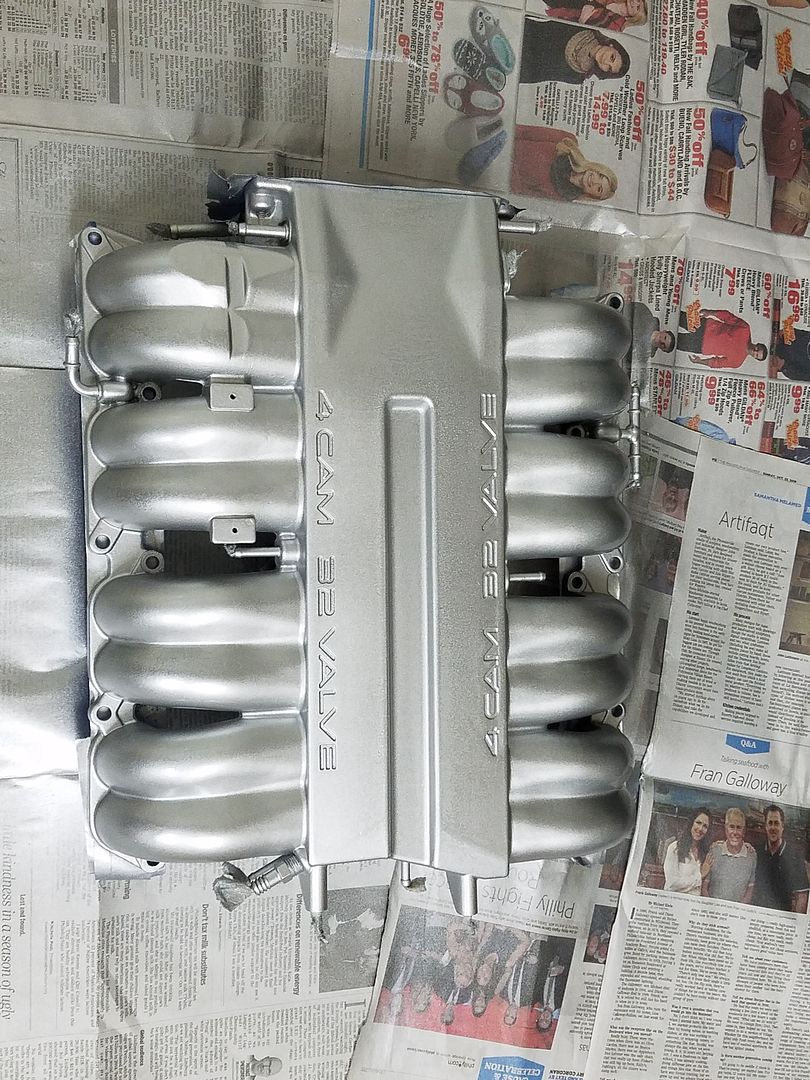 second, third and fourth coats... 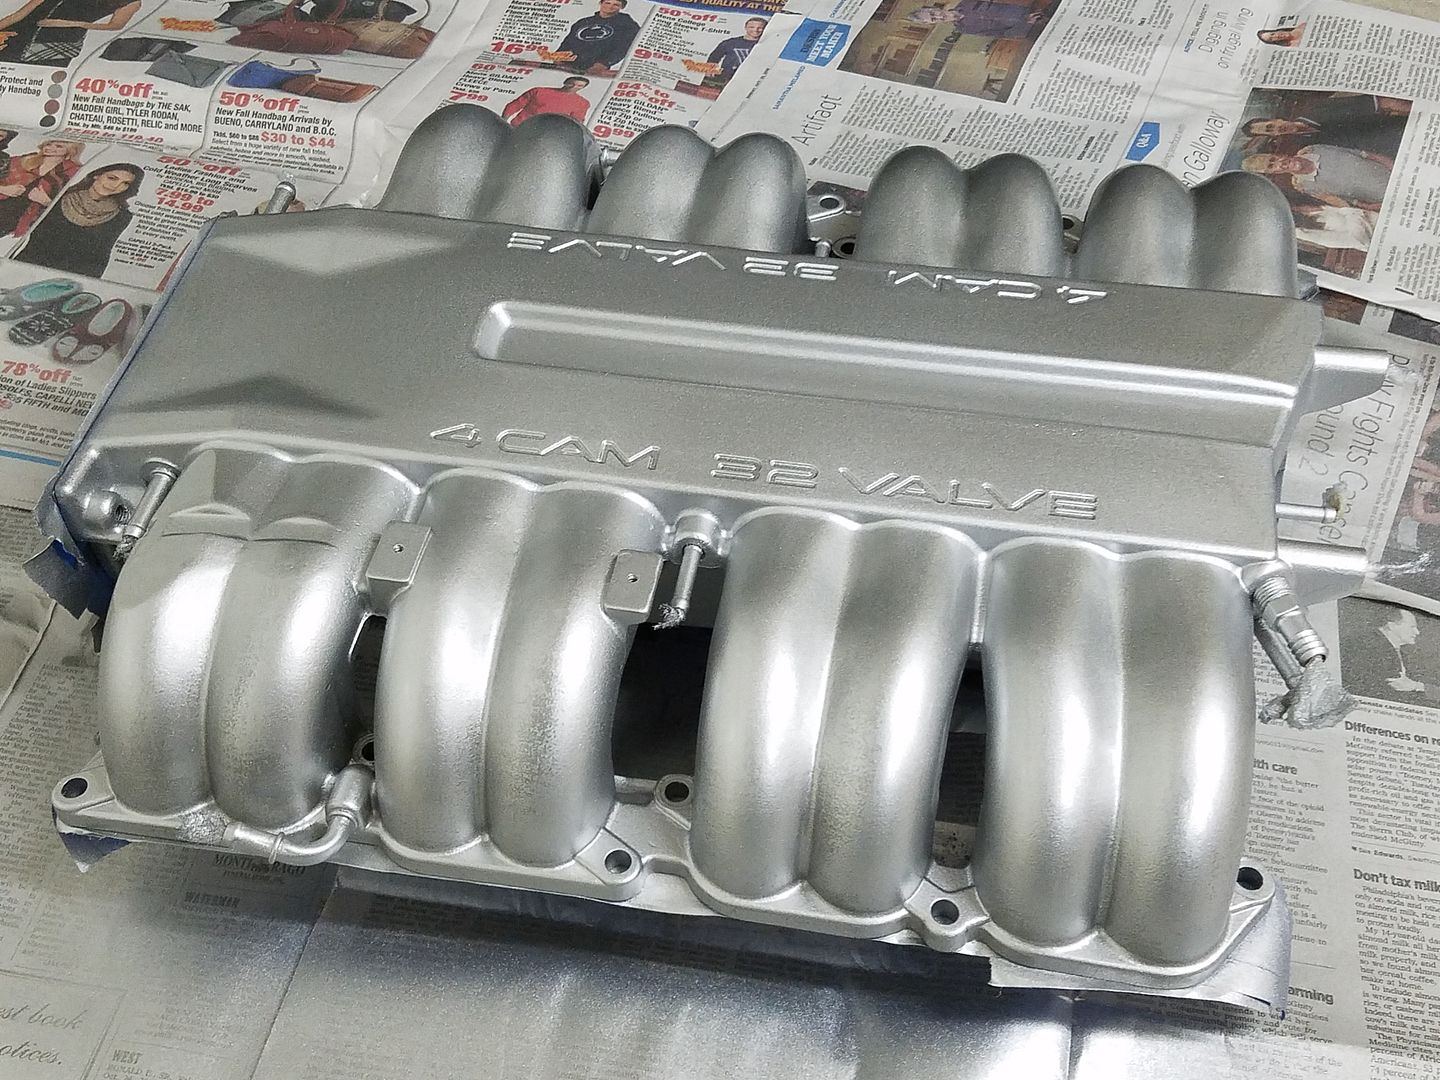 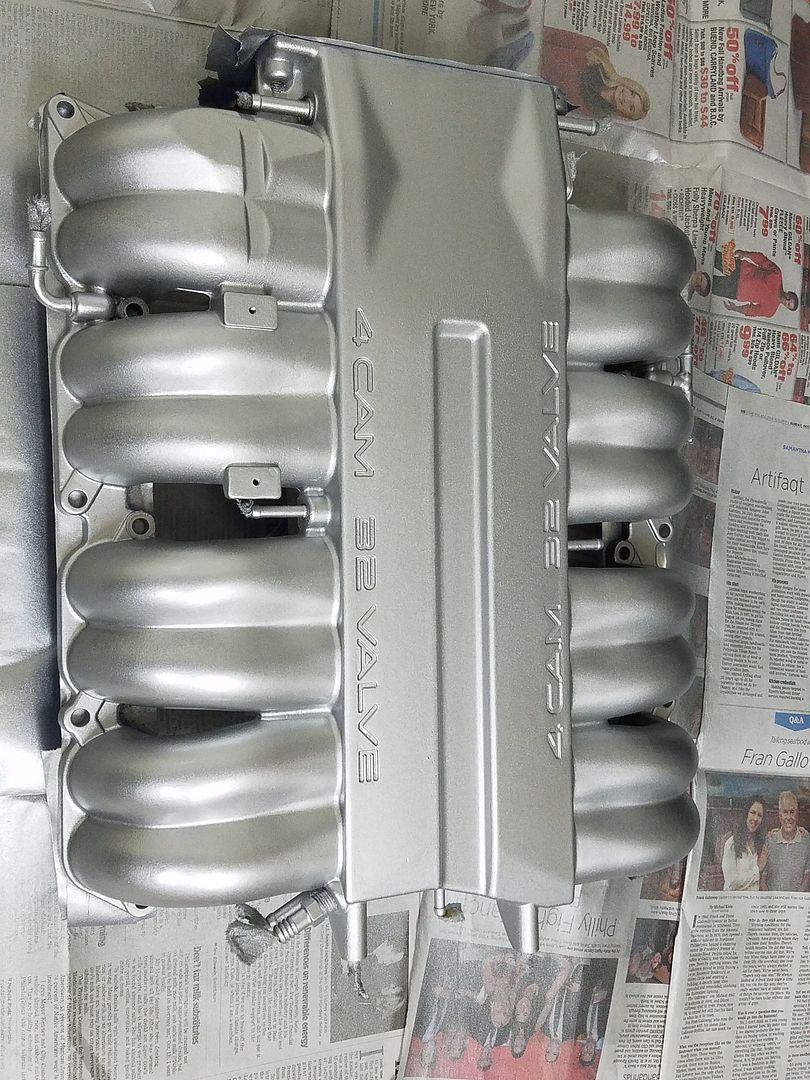 so far the final coat...the finished plenum...I don't think it will need anymore coats of paint... 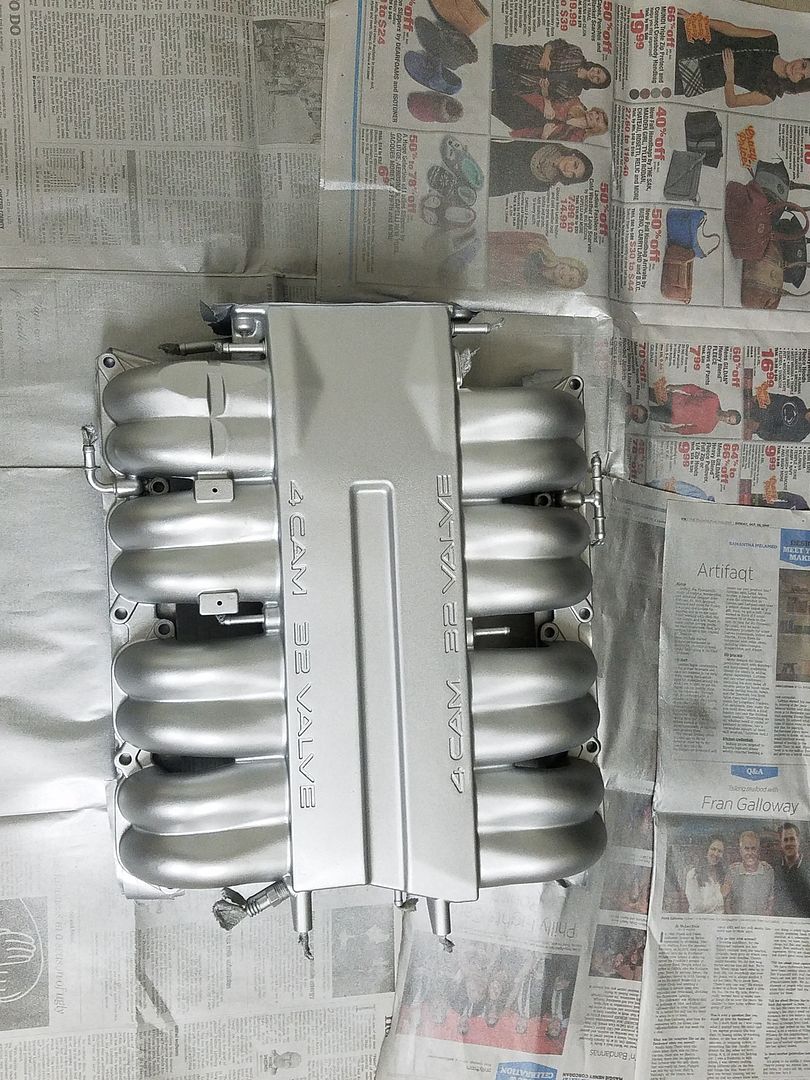 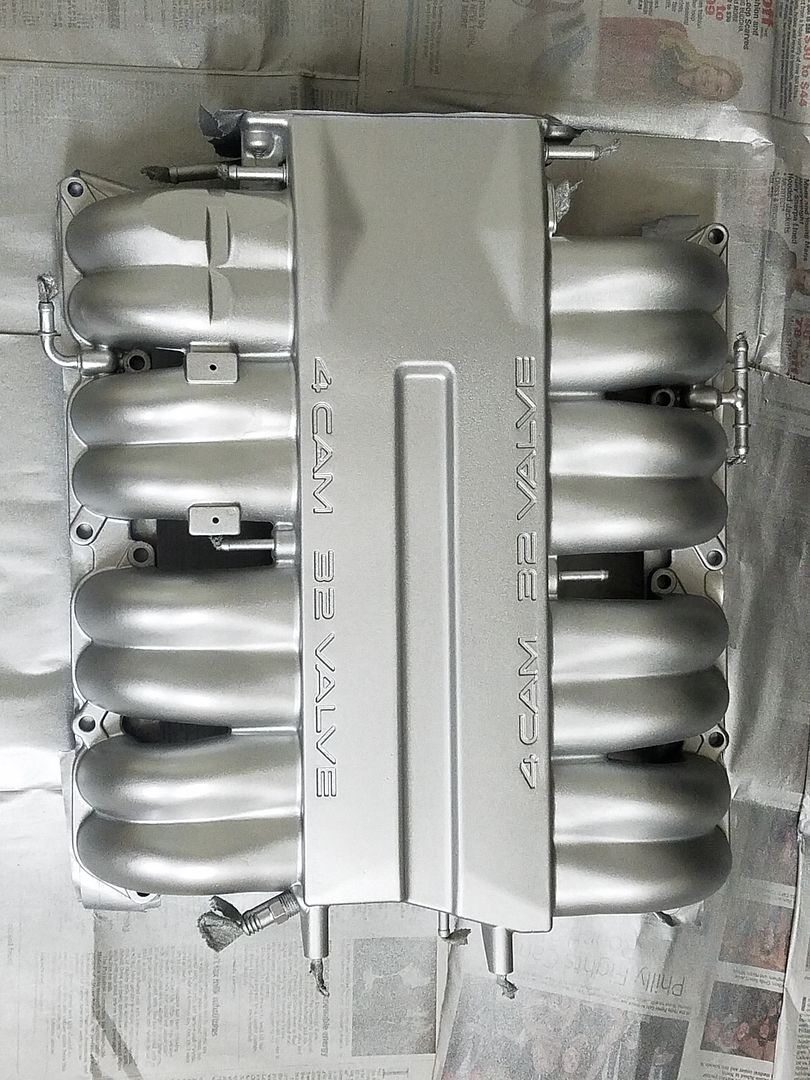
__________________
Tom 1994 ZR-1 #009 "captured test fleet car" 1974 LS4 454 Vert 1982 L83 CFI...now a retired "dd"....Sold WAZOO Member Last edited by Roadster; 03-16-2021 at 03:15 PM. |
|
|

|
|
|
#149 |
 Join Date: Nov 2016
Location: Norway
Posts: 397
|
Looks great!
But now you'll have to the injector housings and heads to match.
__________________
- '90 ZR-1 Last edited by S.hafsmo; 06-04-2017 at 10:12 PM. |
|
|

|
|
|
#150 | |
 Join Date: Mar 2015
Location: New Zealand
Posts: 382
|
Quote:
Glen Sent from my SM-G930F using ZR-1 Net Registry mobile app |
|
|
|

|
 |
|
|